Create New Element
This example demonstrates the minimal implementation needed to begin developing a custom element for page builders.
You can return any content you want to display from the render_content function.
Learn more about the Item class here.
class My_Custom_Element extends Pixebuilder\Element\Item{
static function get_name(){
return 'my-custom-element';
}
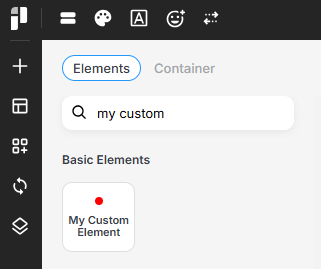
static function get_title(){
return 'My Custom Element';
}
static function get_icon(){
return '<svg height="10" width="10" ><circle r="4" cx="5" cy="5" fill="red" /></svg>';
}
static function render_content($settings){
$ret = 'Create a new custom element that can be configured and reused across your layouts.';
return $ret;
}
}
if( class_exists('Pixe_Builder') ){
Pixe_Builder::register_element('My_Custom_Element');
}Register Element Styles
You can register styles specifically for this element using this function. The styles will only be loaded when the element is present on the page.
function my_custom_element_style(){
	echo ".pixe-item-my-custom-element{ color: #000; }";
}
if( class_exists('Pixe_Dependency') ){
	Pixe_Dependency::get()->register_style('my-custom-element', 'my_custom_element_style');
}
Register Element Scripts
The same applies to scripts. You can register scripts for this element using this function, and they will be loaded only when the element is present on the page.
function my_custom_element_script(){
	echo "
		$(document).ready(function(){
			$('.pixe-item-my-custom-element').each(function(){
				// do something here
			});
		});
	";
}
Pixe_Dependency::get()->register_script('my-custom-element', 'my_custom_element_script');