A newsletter form is one of the simplest, most effective ways to grow your audience. In this guide you'll build a clean, high-converting newsletter form in PixeBuilder from scratch and connect it to your email marketing service, so every new subscriber is added automatically.
PixeBuilder currently integrates with Mailchimp and ActiveCampaign, with more providers on the way. The walkthrough below uses Mailchimp as the example, but the same flow applies to ActiveCampaign.
Since the newsletter form is built using PixeBuilder's Contact Form element, see the Contact Form guide for full details on every field type, styling option, and setting.
Step 1: Add a Newsletter Form to Your Page
Open the page in the PixeBuilder editor, then add the form element:
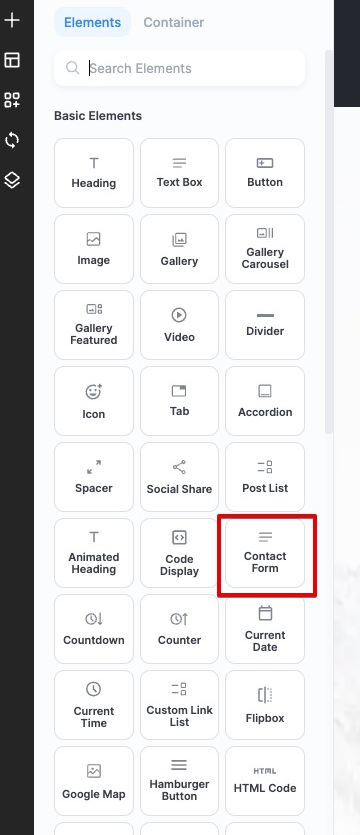
- Click the add element (+) button on the left to open the Elements panel.
- Under Basic Elements, find the Contact Form element and drag it onto your page.
When you drop it in, the Contact Form arrives as a full form with several fields — Name, Tel, Email, Message, and a Terms & Conditions checkbox. A newsletter only needs the email address, so we’ll remove everything except the Email field and the Submit button.
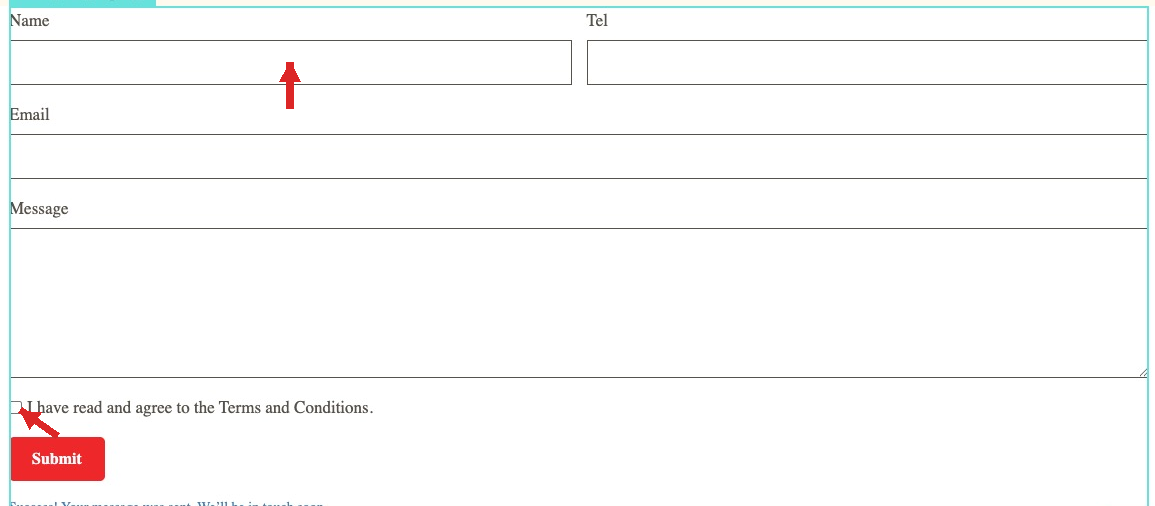
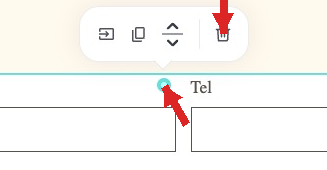
To remove a field, click the colored dot at the field’s corner — a small toolbar pops up — then click the trash (remove) icon. Repeat for Name, Tel, Message, and the checkbox, leaving just Email and Submit.
Step 2: Configure the Email Field
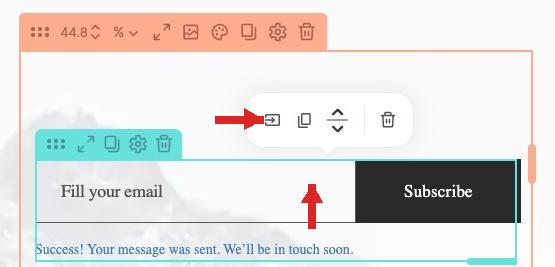
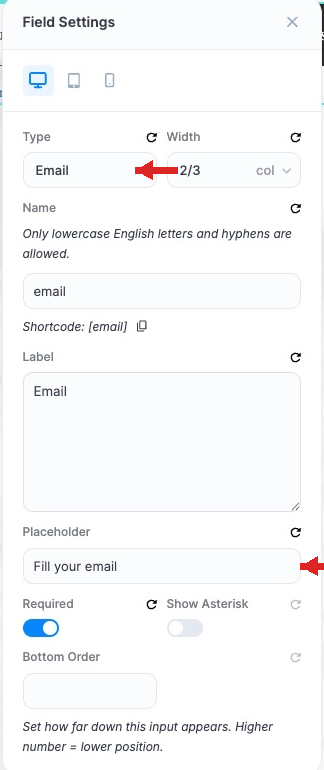
Select the Email field by clicking its colored dot — a small toolbar pops up. Click the settings icon (the first icon in that toolbar) to open the Field Settings drawer.
In the drawer, configure the field so it works as a proper newsletter input:
- Type: set to Email so the input validates email addresses.
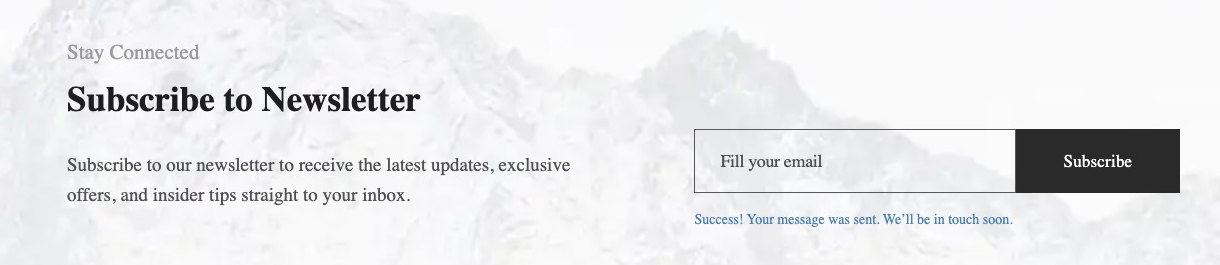
- Placeholder: add helper text such as “Fill your email” so visitors know what to type.
- Required: toggle on so the form can't be submitted empty.
Step 3: Style It for a Clean Look
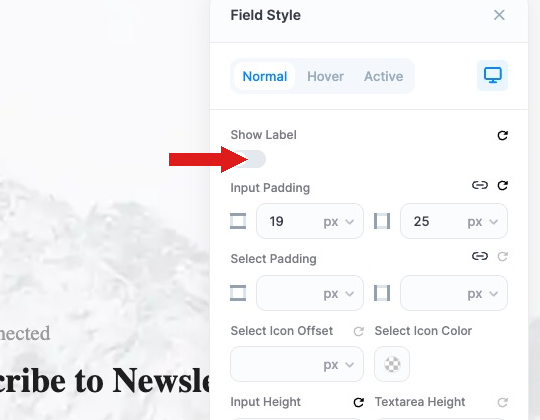
For a minimal, distraction-free design, open the Field Style panel in the sidebar and toggle Show Label to off.
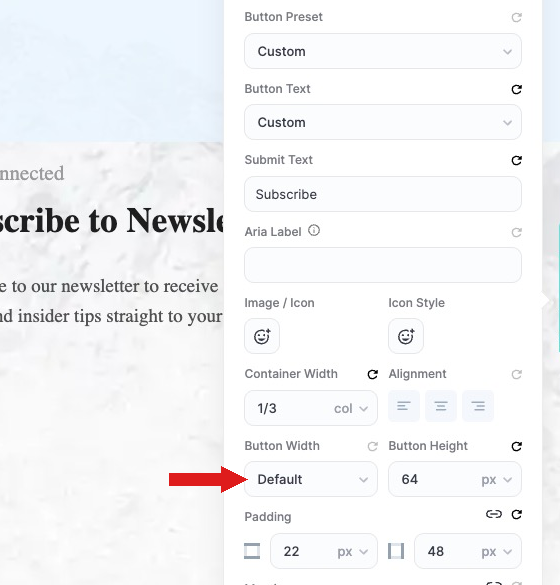
Then open Button Style and set the Button Width to Full Width so your call-to-action stands out.
Step 4: Get Your API Key
Each integration connects through an API key generated inside your provider account:
- Mailchimp: click your profile, then go to Extras → API keys and click Create A Key.
- ActiveCampaign: open Settings → Developer and copy your API Key (and API URL).
Copy the key — you will paste it into PixeBuilder in the next step.
Step 5: Add the API Key in PixeBuilder
Head back to your WordPress Dashboard:
- Navigate to PixeBuilder → Integration.
- Open the tab for your provider (Mailchimp or ActiveCampaign), paste the API key, and save the settings.
- Return to the Newsletter Form page and reload it so the new connection is detected.
Step 6: Enable the Integration on the Form
Click the settings (gear) icon on the form element (the outer toolbar), then open the Apps tab and toggle your provider (Mailchimp or ActiveCampaign) to ON.
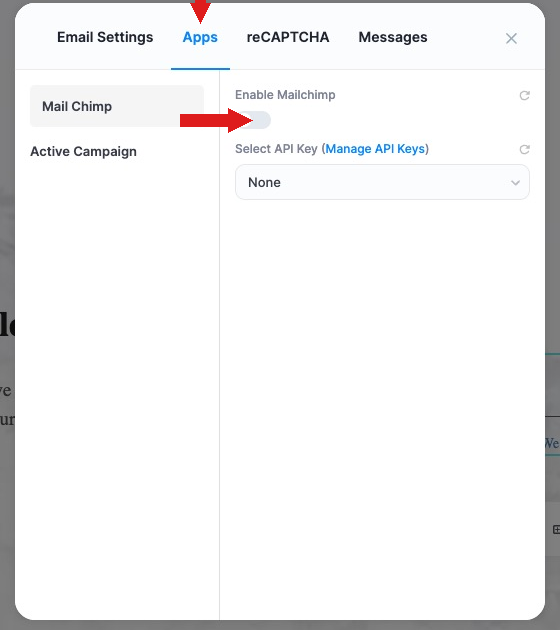
Once it is enabled:
- Select your API key and choose the specific Audience List (Mailchimp) or List (ActiveCampaign) subscribers should be added to.
- Optionally toggle the Double Opt-in email on or off, depending on your preference.
Step 7: Map Your Fields (Important)
Field mapping is the most important step. Under Field Mapping, map the Email field from your form to the provider's Email Address field.
The email field is required — without it, the integration will not work.
Finally, click Update. Your newsletter form is now connected and ready to grow your mailing list.
Pro Tip: Leave Double Opt-in enabled if you want subscribers to confirm their address before being added. It keeps your list clean and improves email deliverability.