This article will show you the basics and foundations of Pixebuilder
Create a New Page or Post
Navigate to your WordPress Dashboard. Create a new page or post, then click on the "Edit With PixeBuilder" button at the top.
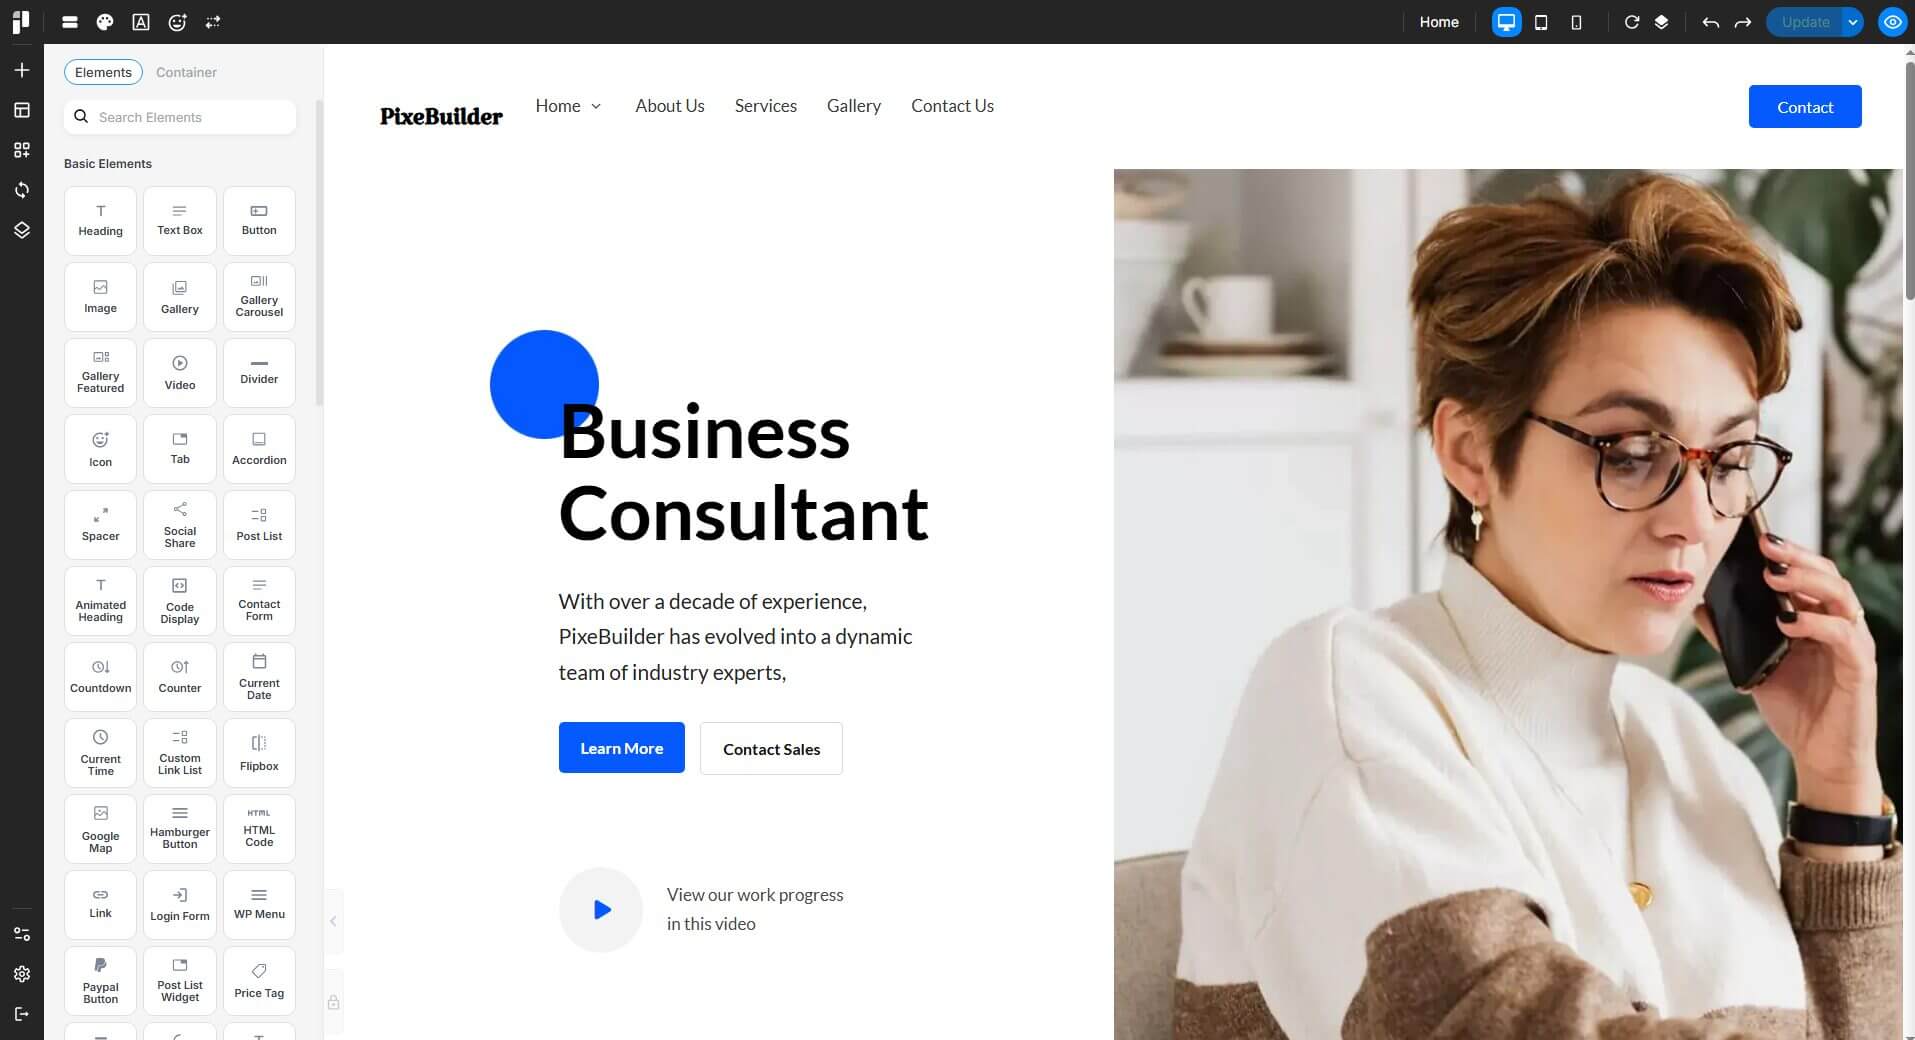
Add Elements to a Page
On the left side, click the + icon or drag and drop the desired element into the page builder area.
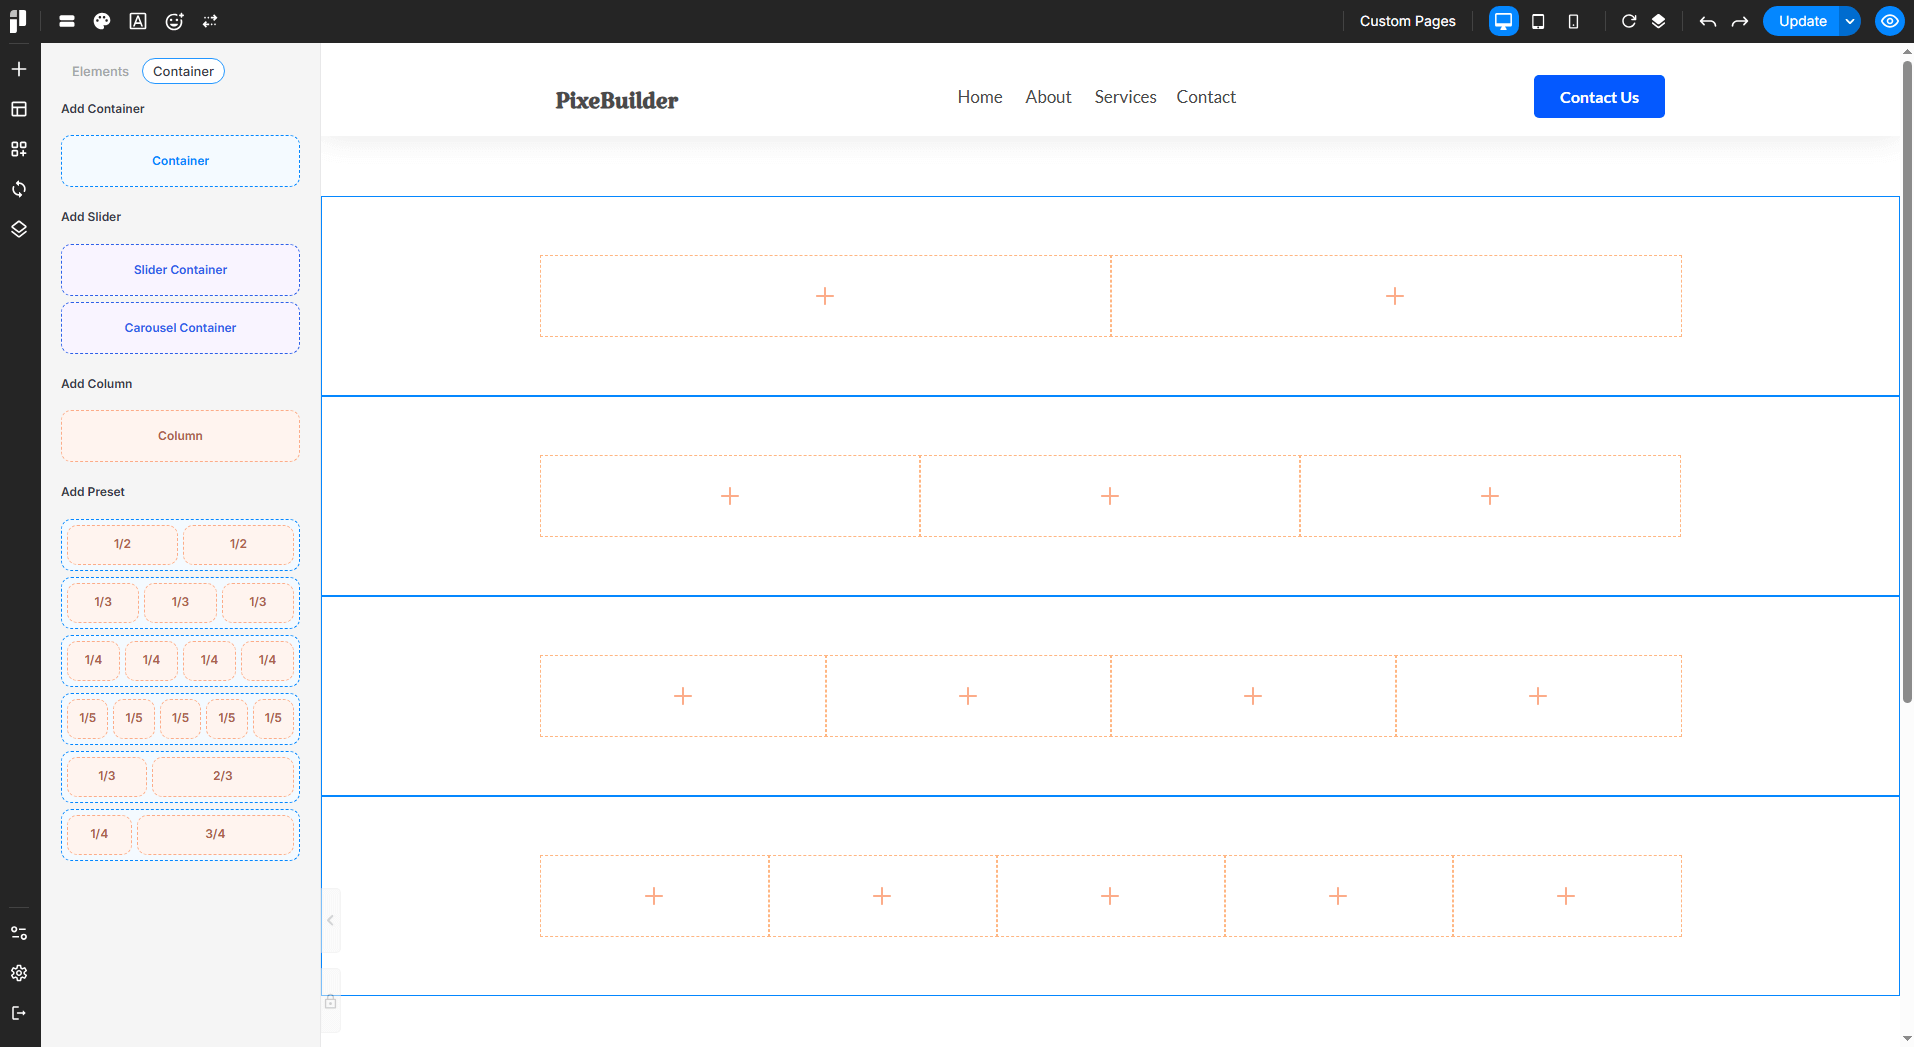
Customizing Elements
You can customize elements by arranging containers, editing headings, and adjusting colors, text sizes, fonts, and more.