The Single Post Template feature in PixeBuilder allows you to create a completely custom design for the "Single Post" page in WordPress. While a Post Template defines how an individual post looks within a list (like a blog feed), the Single Post Template defines the layout a visitor sees when they click to read the full article.
Creating a Single Post Template
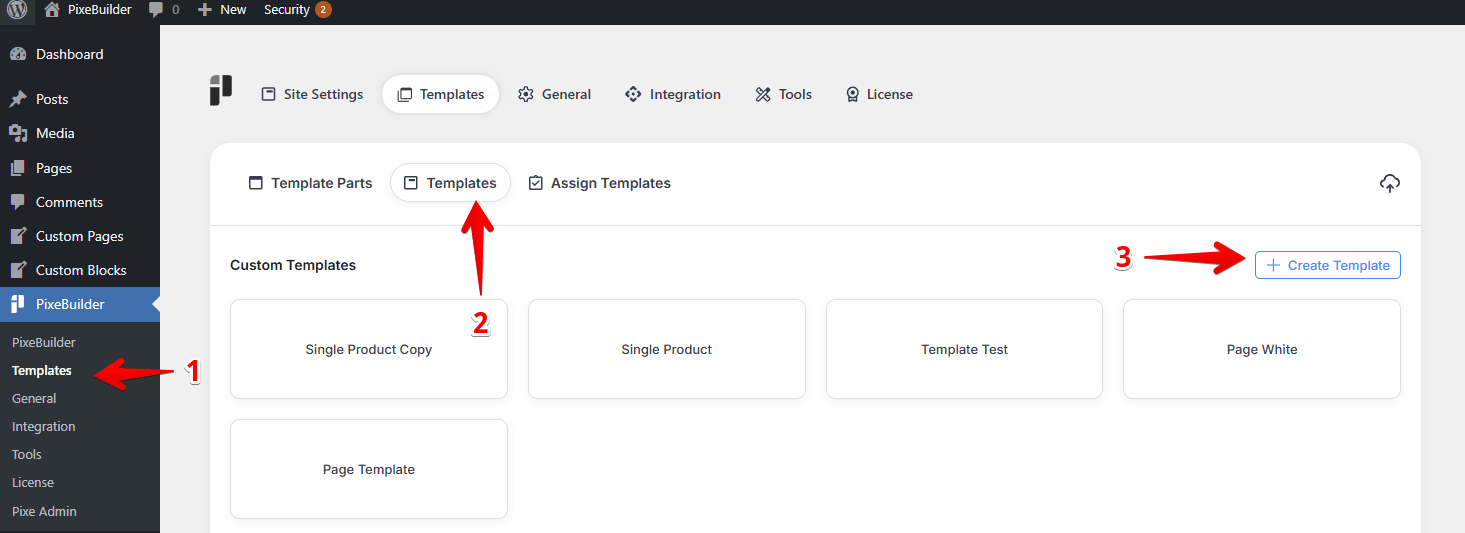
To begin building your layout, navigate to the template management area:
-
Navigate to PixeBuilder > Templates in your WordPress dashboard.
-
Select the Templates tab at the top of the interface.
-
Click the + Create Template (or Create Template) button in the top right corner.
Building the Layout with Query Elements
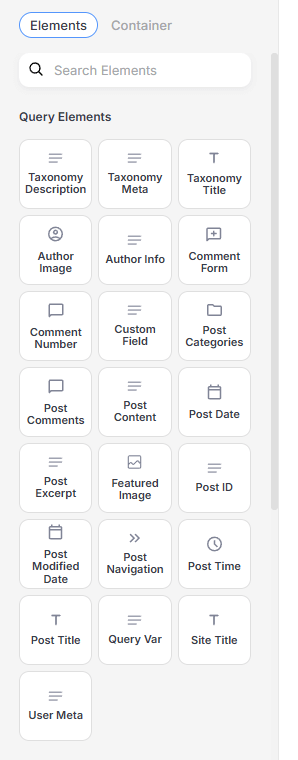
Once inside the PixeBuilder editor, you will build the page by dragging and dropping Query Elements. These elements are dynamic; they act as placeholders that automatically fill with the unique data of whichever post the user is currently viewing.
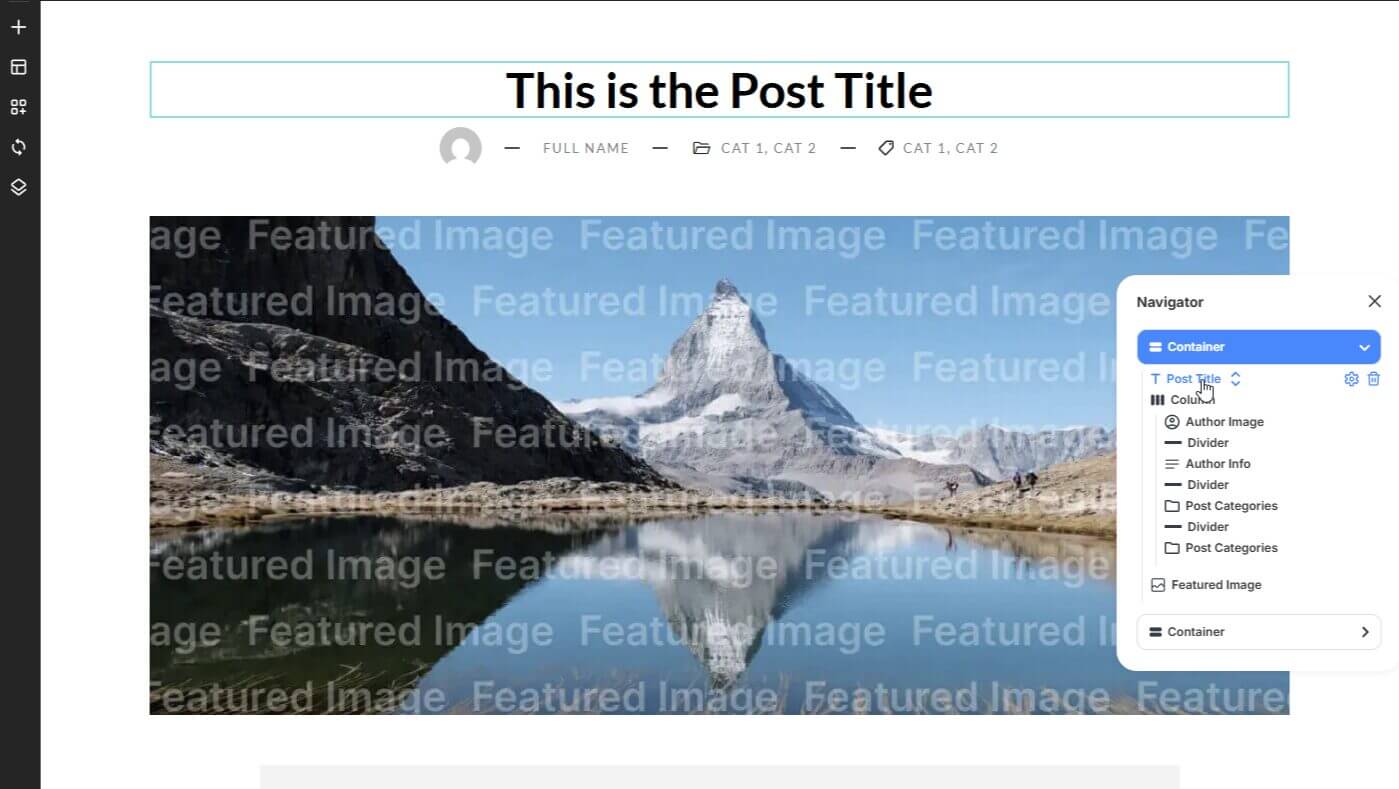
The Hero Section
Commonly used at the top of the page to grab attention:
-
Post Title: Displays the main heading of the article.
-
Featured Image: Displays the primary image associated with the post. You can set this as a background image for a row or as a standalone element.
-
Author Info: Pulls the name and profile information of the writer.
-
Post Date: Shows when the article was published.
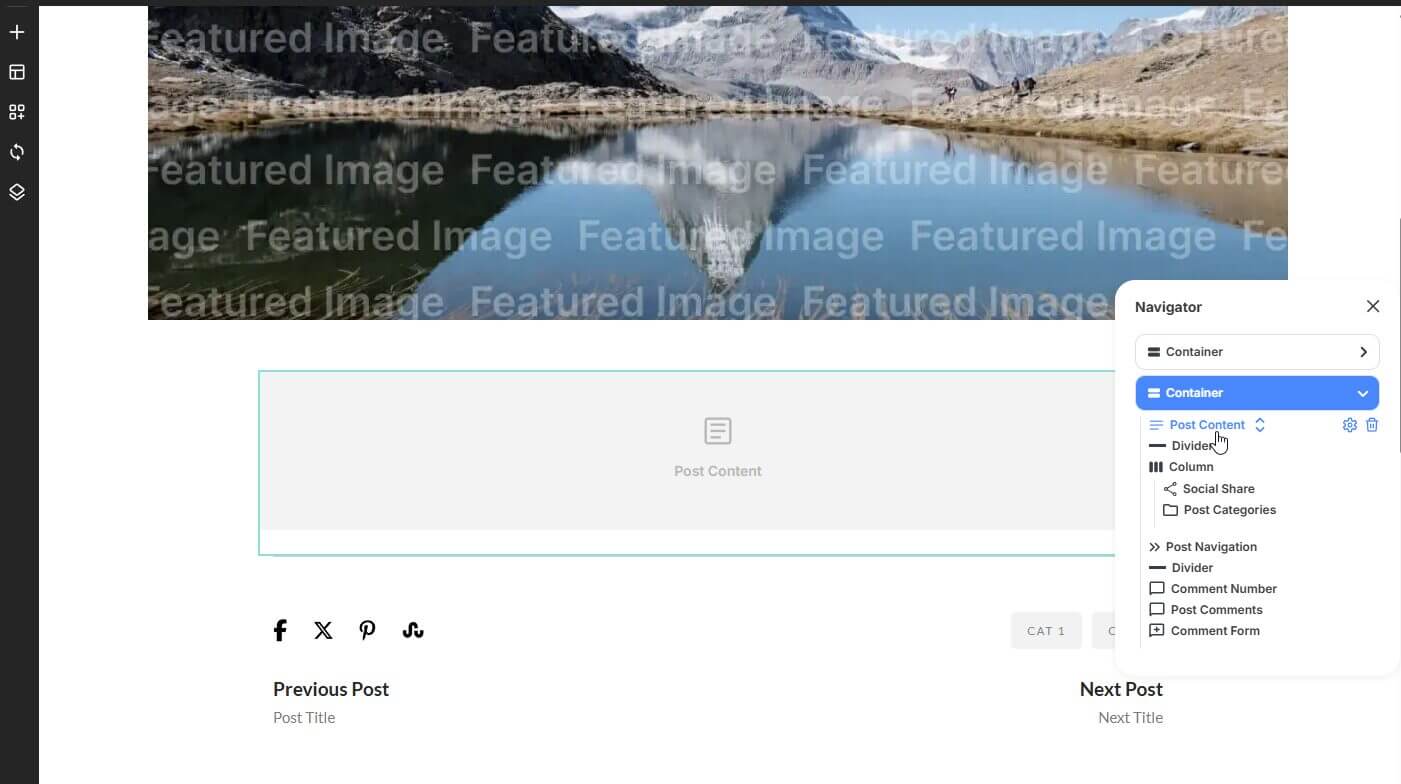
The Content Area
The core section where the actual story is told:
-
Post Content: This is the most critical element. It pulls the full body text and media from the WordPress Gutenberg or Classic editor.
-
Taxonomy List: Use this to show the Categories and Tags assigned to the post.
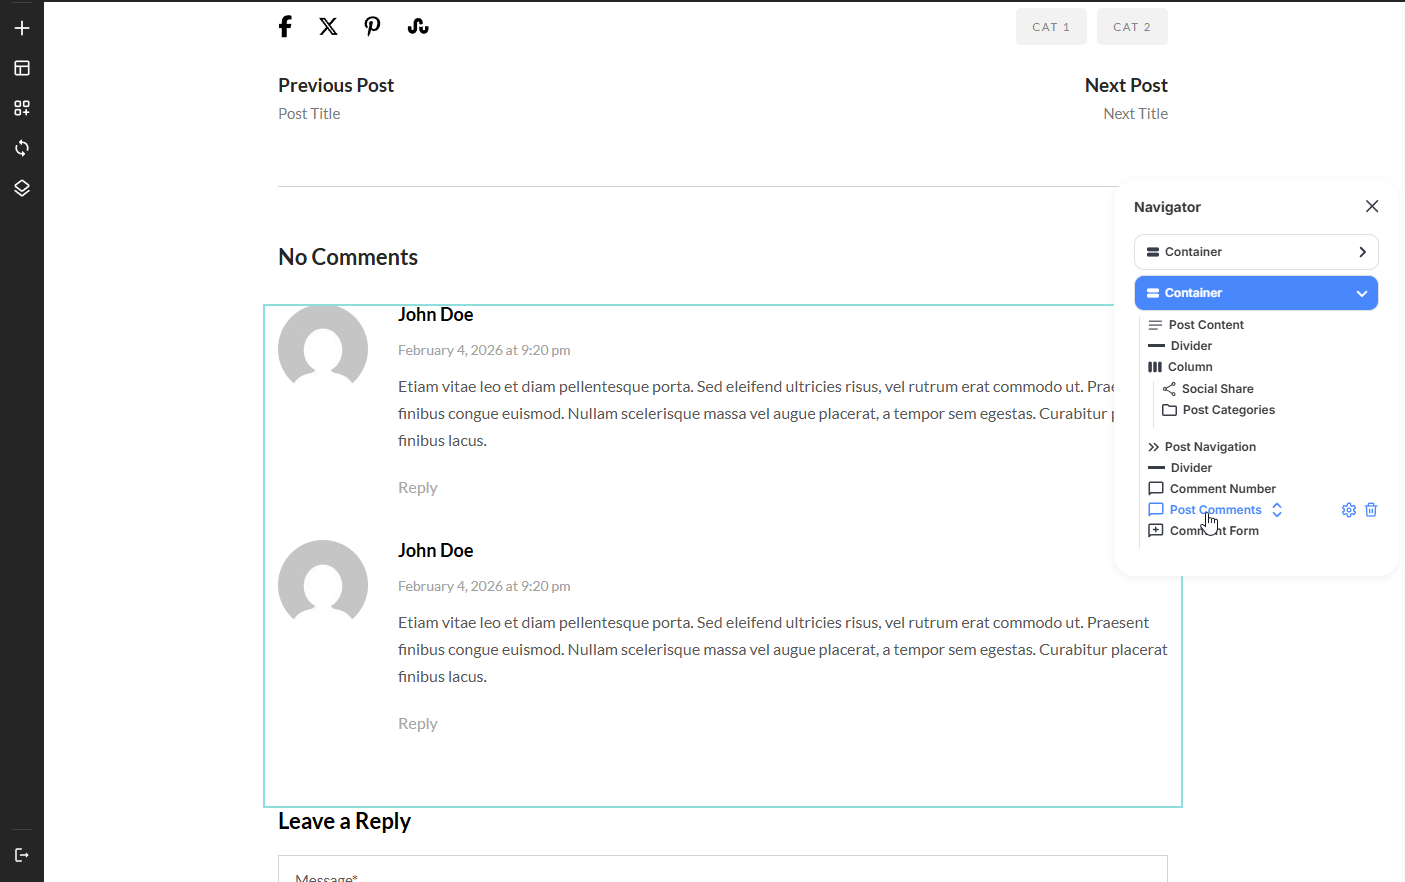
Engagement & Navigation
Added to the bottom of the template to keep users on your site:
-
Comment Form: Displays the WordPress comment section so readers can leave feedback.
-
Post Navigation: Adds "Previous" and "Next" links so users can easily browse through your other articles.
Assigning the Single Post Template
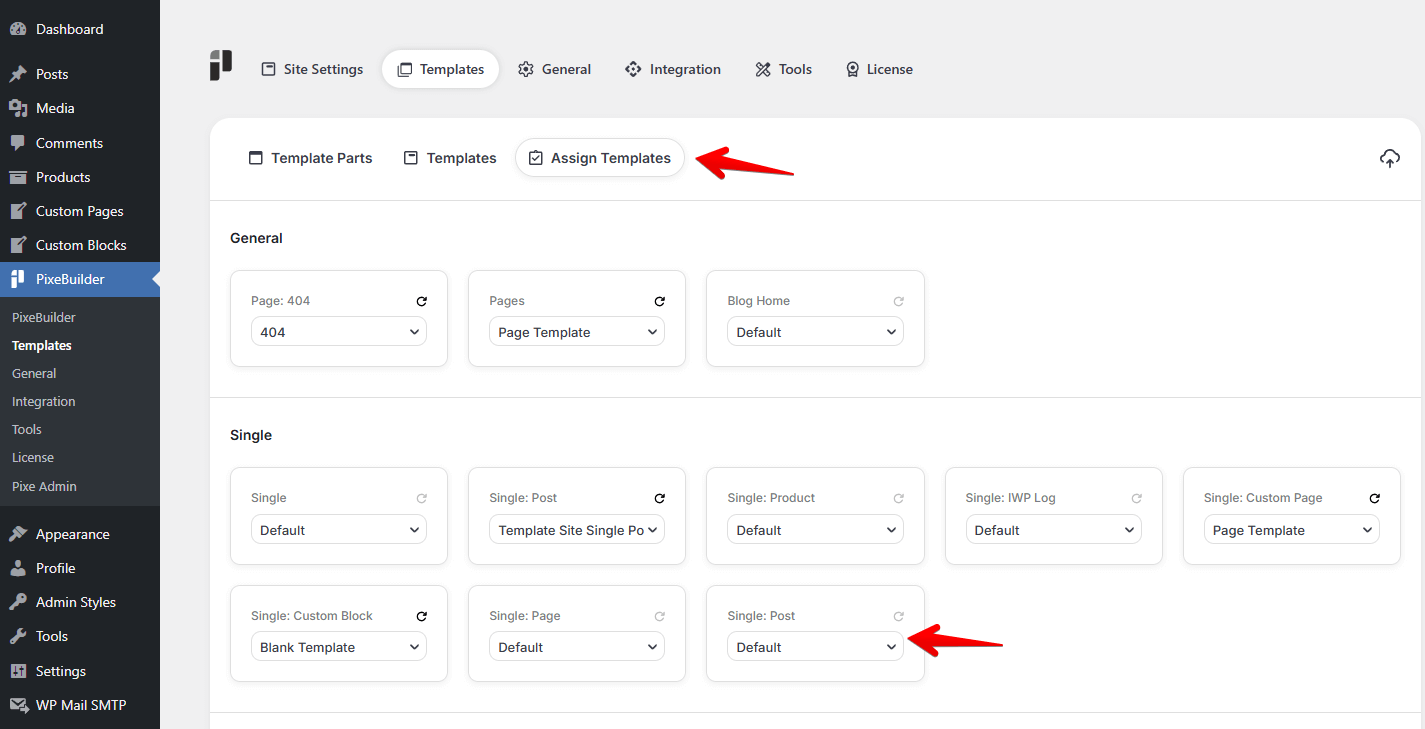
Simply creating the template does not make it active on your site. You must "Assign" it to tell WordPress which posts should use this design.
-
Go to PixeBuilder > Templates and click on the Assign Templates tab.
-
Locate the Single section in the dashboard.
-
Find the Single: Post box.
-
From the dropdown menu, select the name of the template you just designed.
Custom Post Types
If you have custom post types like Portfolios or Products, you will see dedicated assignment boxes for them (e.g., Single: Product). You can create unique templates for each post type to ensure your blog looks different from your portfolio.