A 404 Page Template allows you to create a custom "Page Not Found" experience for visitors who navigate to a broken link or a non-existent URL on your site. Designing a custom 404 page is essential for maintaining your brand's aesthetic and helping lost users find their way back to your active content.
Creating the 404 Template
To begin building your custom error page, navigate to the PixeBuilder template management dashboard:
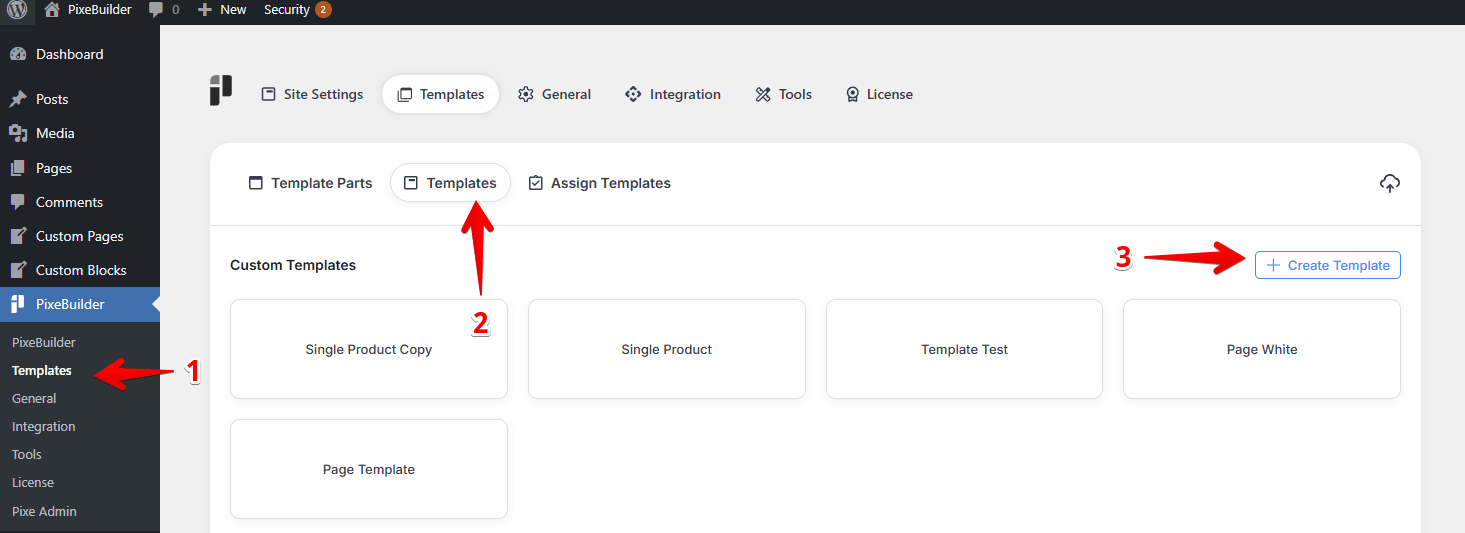
Navigate to PixeBuilder > Templates in your WordPress admin menu.
-
Click on the Templates tab at the top of the interface.
-
Click the + Create Template button located in the top right corner.
-
Once the template is created, name it clearly (e.g., "Custom 404 Page") to easily identify it in your library.
You can either import a prebuilt block or create the 404 page from scratch:
Importing a Prebuilt Block:
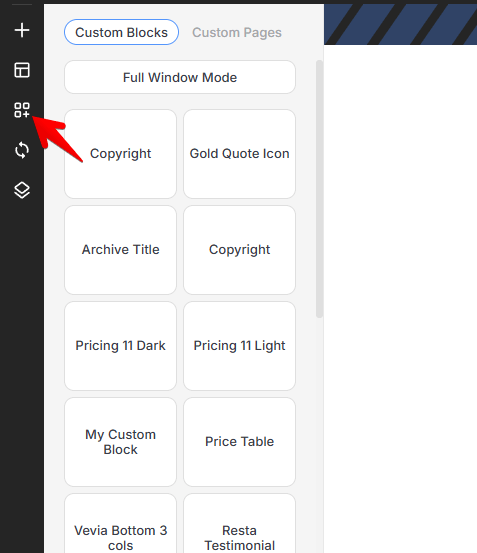
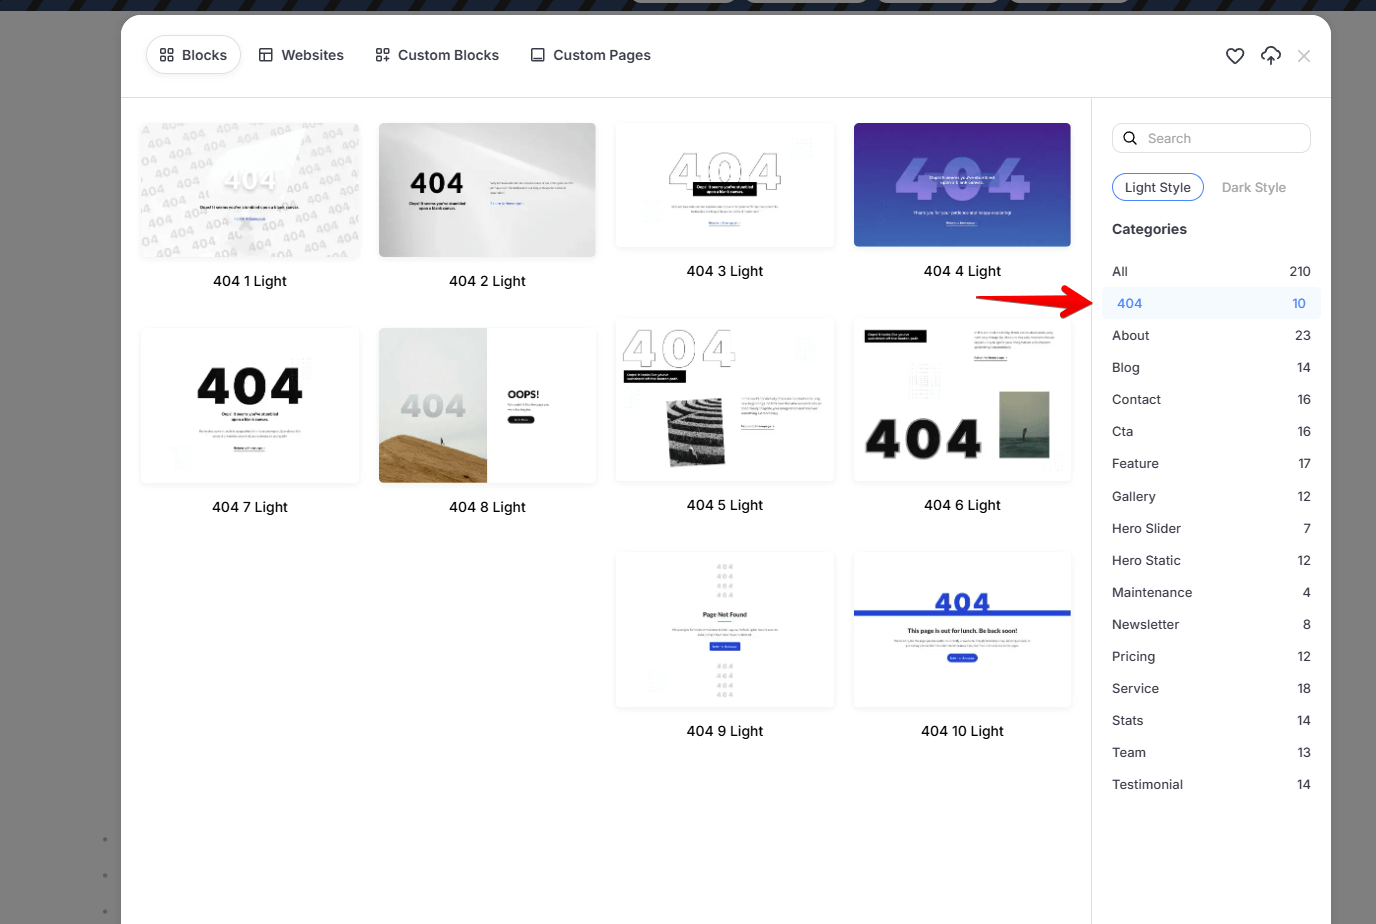
To save time, open the prebuilt library and select a specialized 404 block. These are professionally designed layouts that you can quickly insert and customize with your own text, images, and branding.
-
Open the Custom Blocks section from the left sidebar or the full window library popup.
-
Browse the library to find a specialized 404 block.
-
Click Insert to add the block into your template.
-
Customize the text and styling as needed, then click Update to save your template.
Start From Scratch:
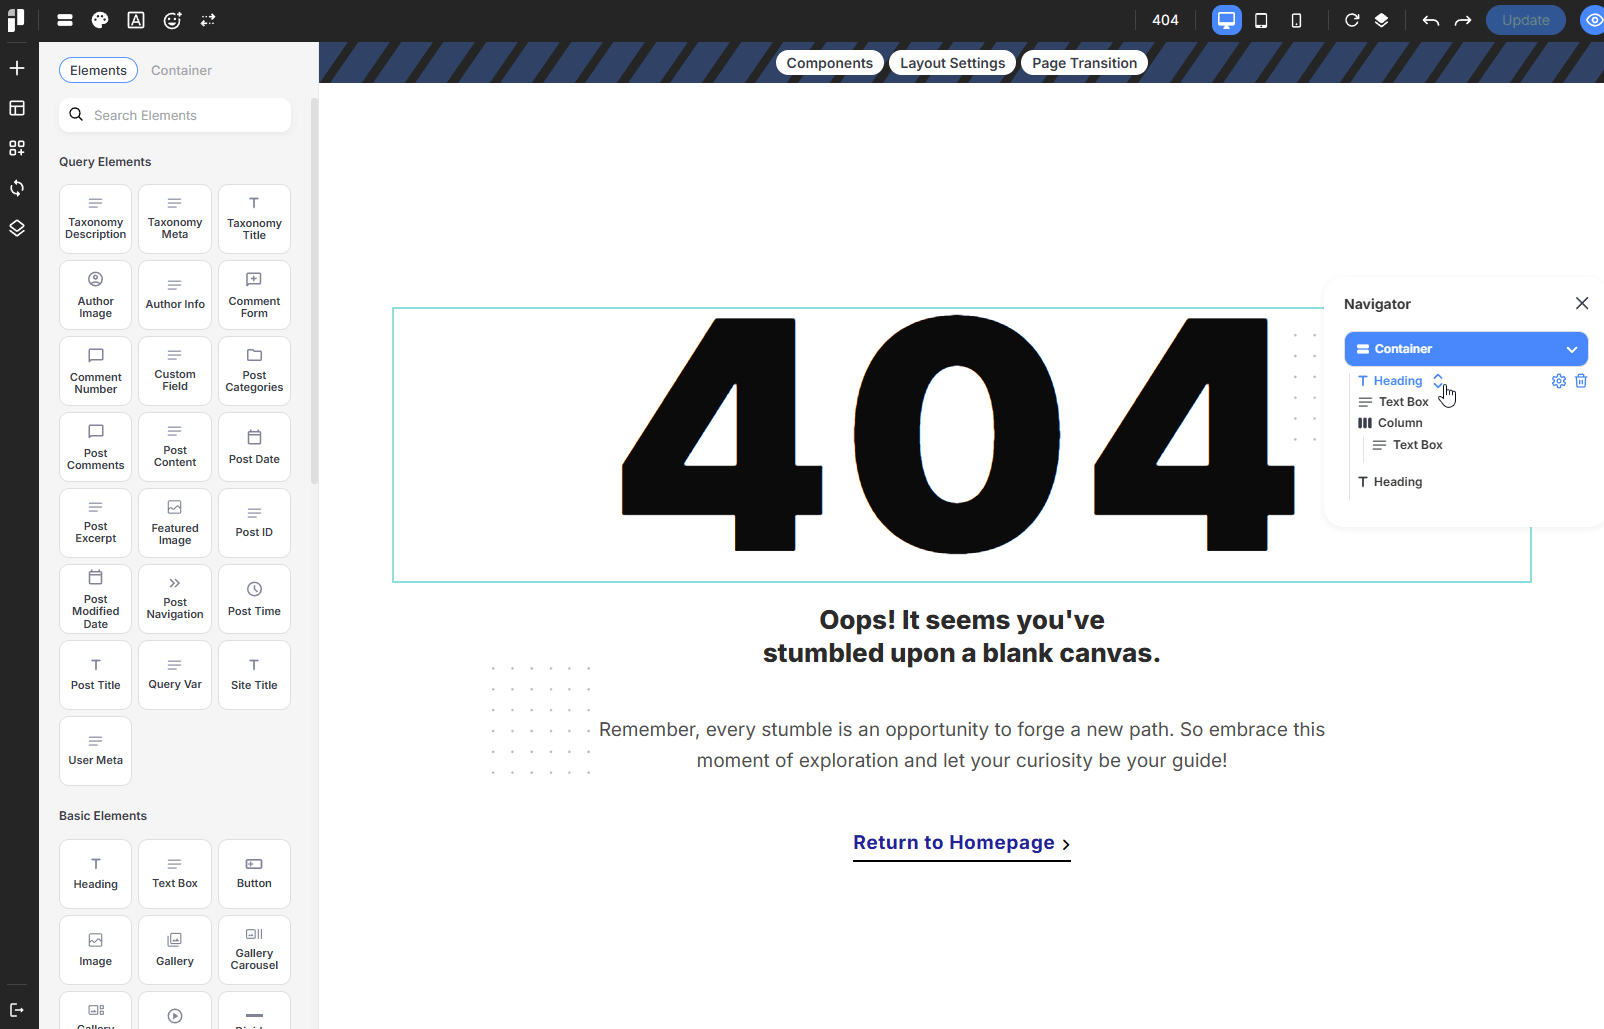
If you prefer complete design freedom, you can manually place elements into your blank template to create a unique experience:
-
Heading & Text: Add a Heading element (e.g., "404 - Page Not Found") and a Text Box to explain that the link may be broken or the page has moved.
-
Featured Image: Optionally add a creative icon or image to visually represent the error.
-
Search Bar: Insert a Search element to help visitors find the specific content they were looking for.
-
Button: Add a Button element and set its link to your Homepage to provide a clear path back to your main site.
Assigning the 404 Template
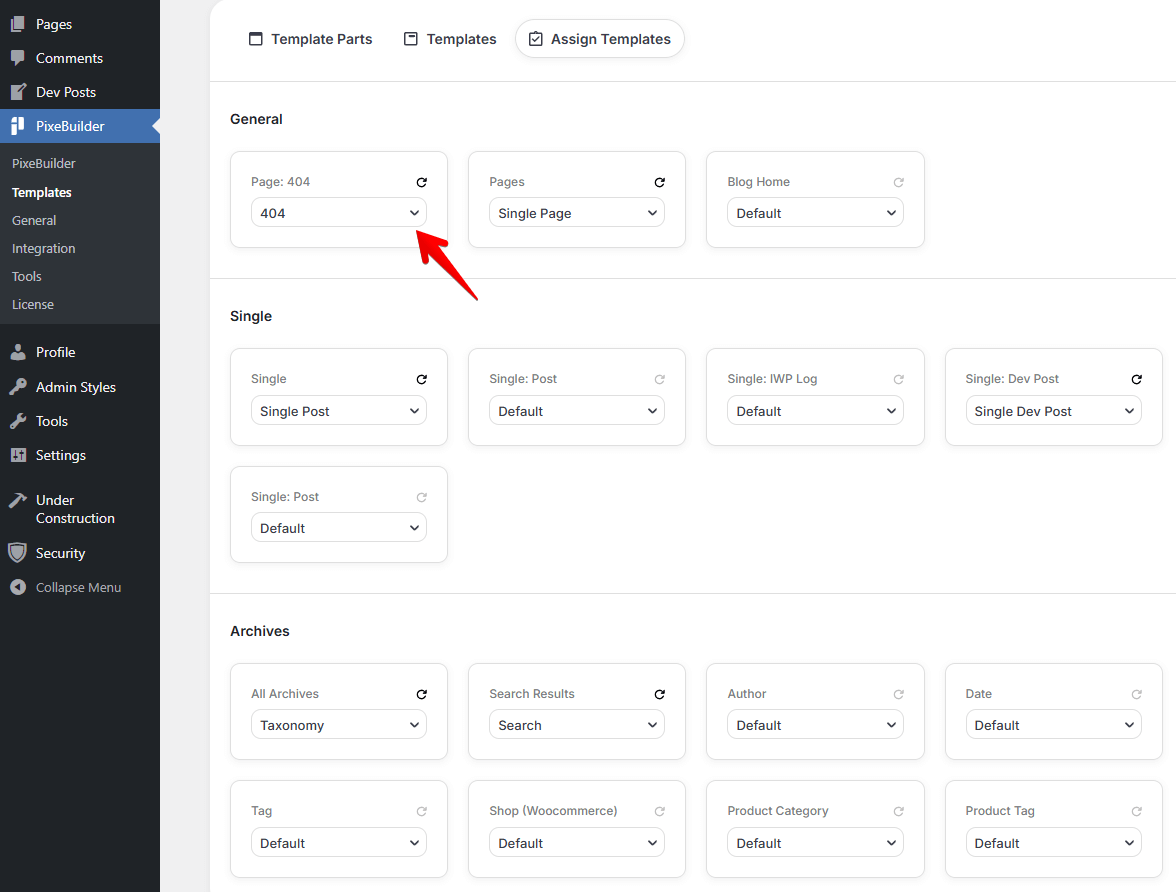
After designing and saving your template, you must officially assign it as the site-wide error page:
-
Return to PixeBuilder > Templates and click on the Assign Templates tab.
-
Locate the General section at the top of the dashboard.
-
Find the Page: 404 box.
-
From the dropdown menu, select the specific 404 template you just created.
-
Save your changes to ensure that any future "Page Not Found" errors will display your custom design.