This guide will walk you through replacing the standard WooCommerce checkout with a high-converting, custom-designed checkout page using PixeBuilder.
Step 1: Assign Your Checkout Page
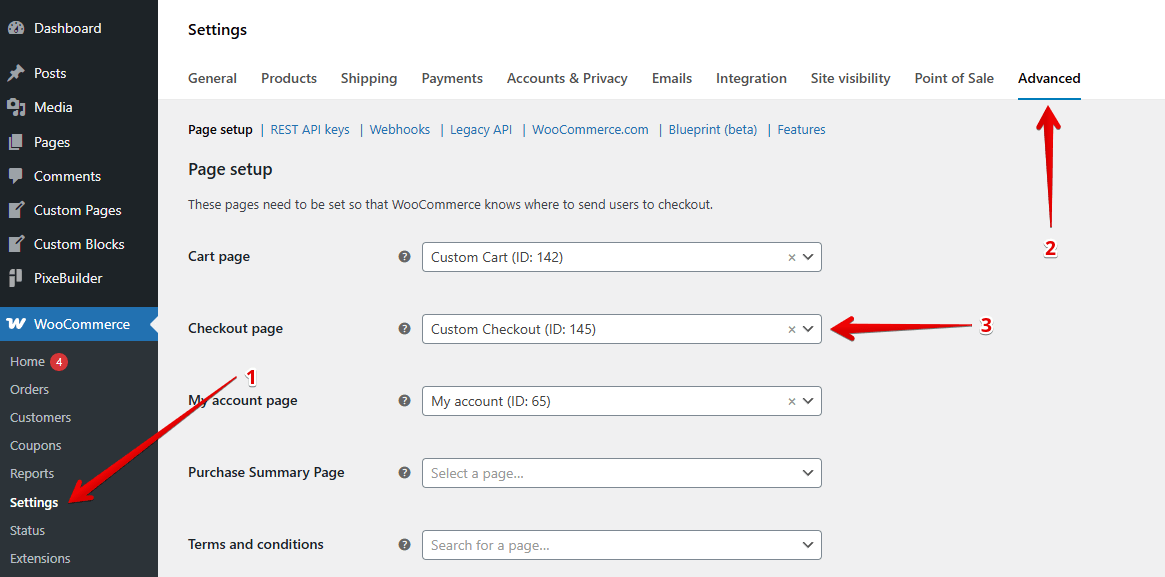
Before designing, you must tell WooCommerce which page to use for the checkout process:
- Navigate to WooCommerce > Settings in your WordPress dashboard.
- Click on the Advanced tab.
- Under Page setup, find the Checkout page dropdown.
- Select your created page.
- Click Save changes at the bottom of the screen.
Step 2: Access the PixeBuilder Editor
Once the page is designated, you can begin the visual design:
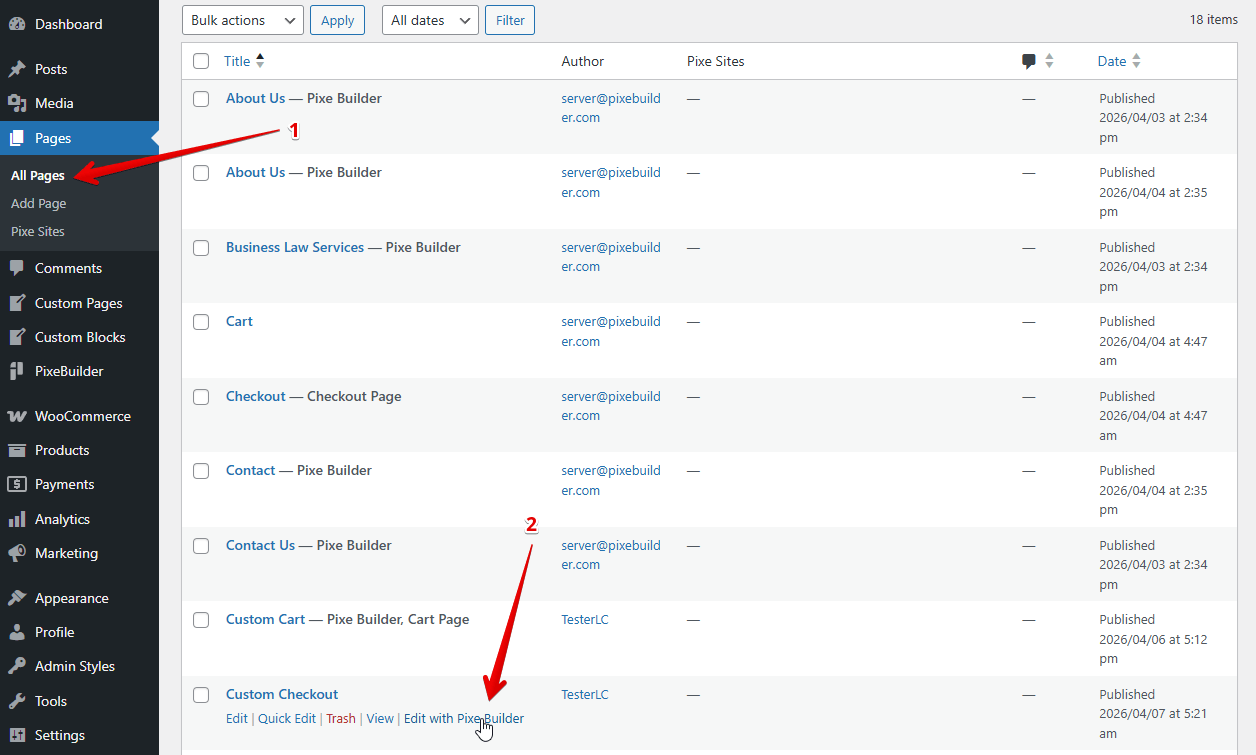
- Go to Pages > All Pages.
- Locate your Custom Checkout page in the list.
- Hover and click Edit with PixeBuilder.
Step 3: Building the Layout
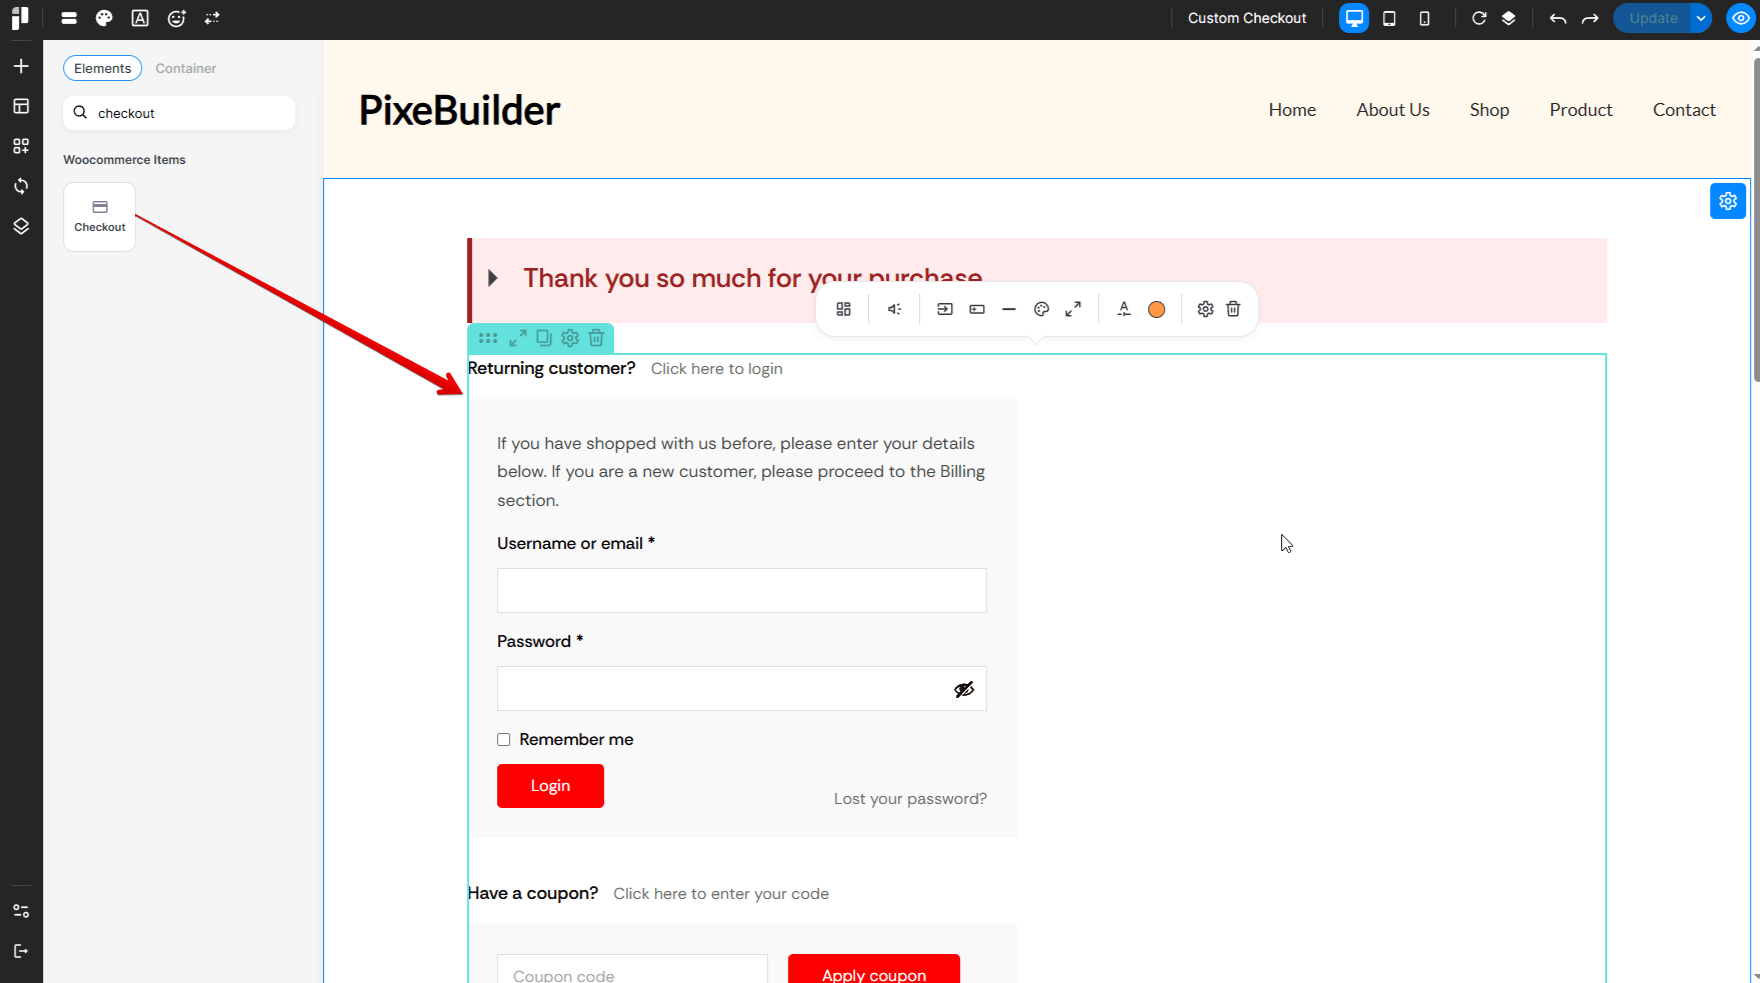
To achieve a professional, modern look, organize your elements via the Pixe Builder:
- Container & Column: These act as the structural shell for your content.
- Alert Box: Use this widget to create a custom title for your Checkout or thank you message.
- Checkout: Instead of a generic shortcode, drop in this widget. It creates the interactive checkout details automatically.
Step 4: Unlock Advanced Styling
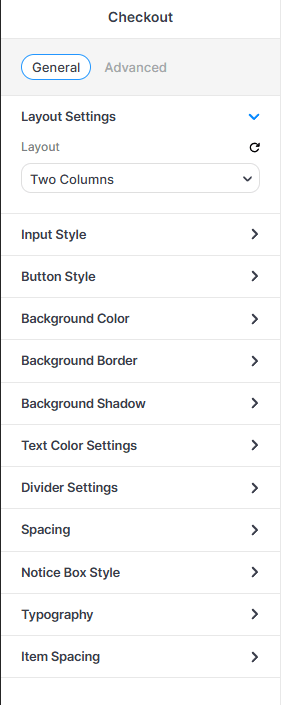
Select the Checkout element in the editor to access the General settings sidebar:
-
Layout Settings: Choose Two Columns to keep the order summary visible alongside the billing forms.
-
Input Style: Adjust the borders, padding, and background of the form fields.
-
Button Style: Fully customize the "Place Order" button (colors, hover effects, and size).
-
Notice Box Style: Style the background and text of the checkout information message.
-
Typography: Set the font family and size for labels, subheadings, and price totals.
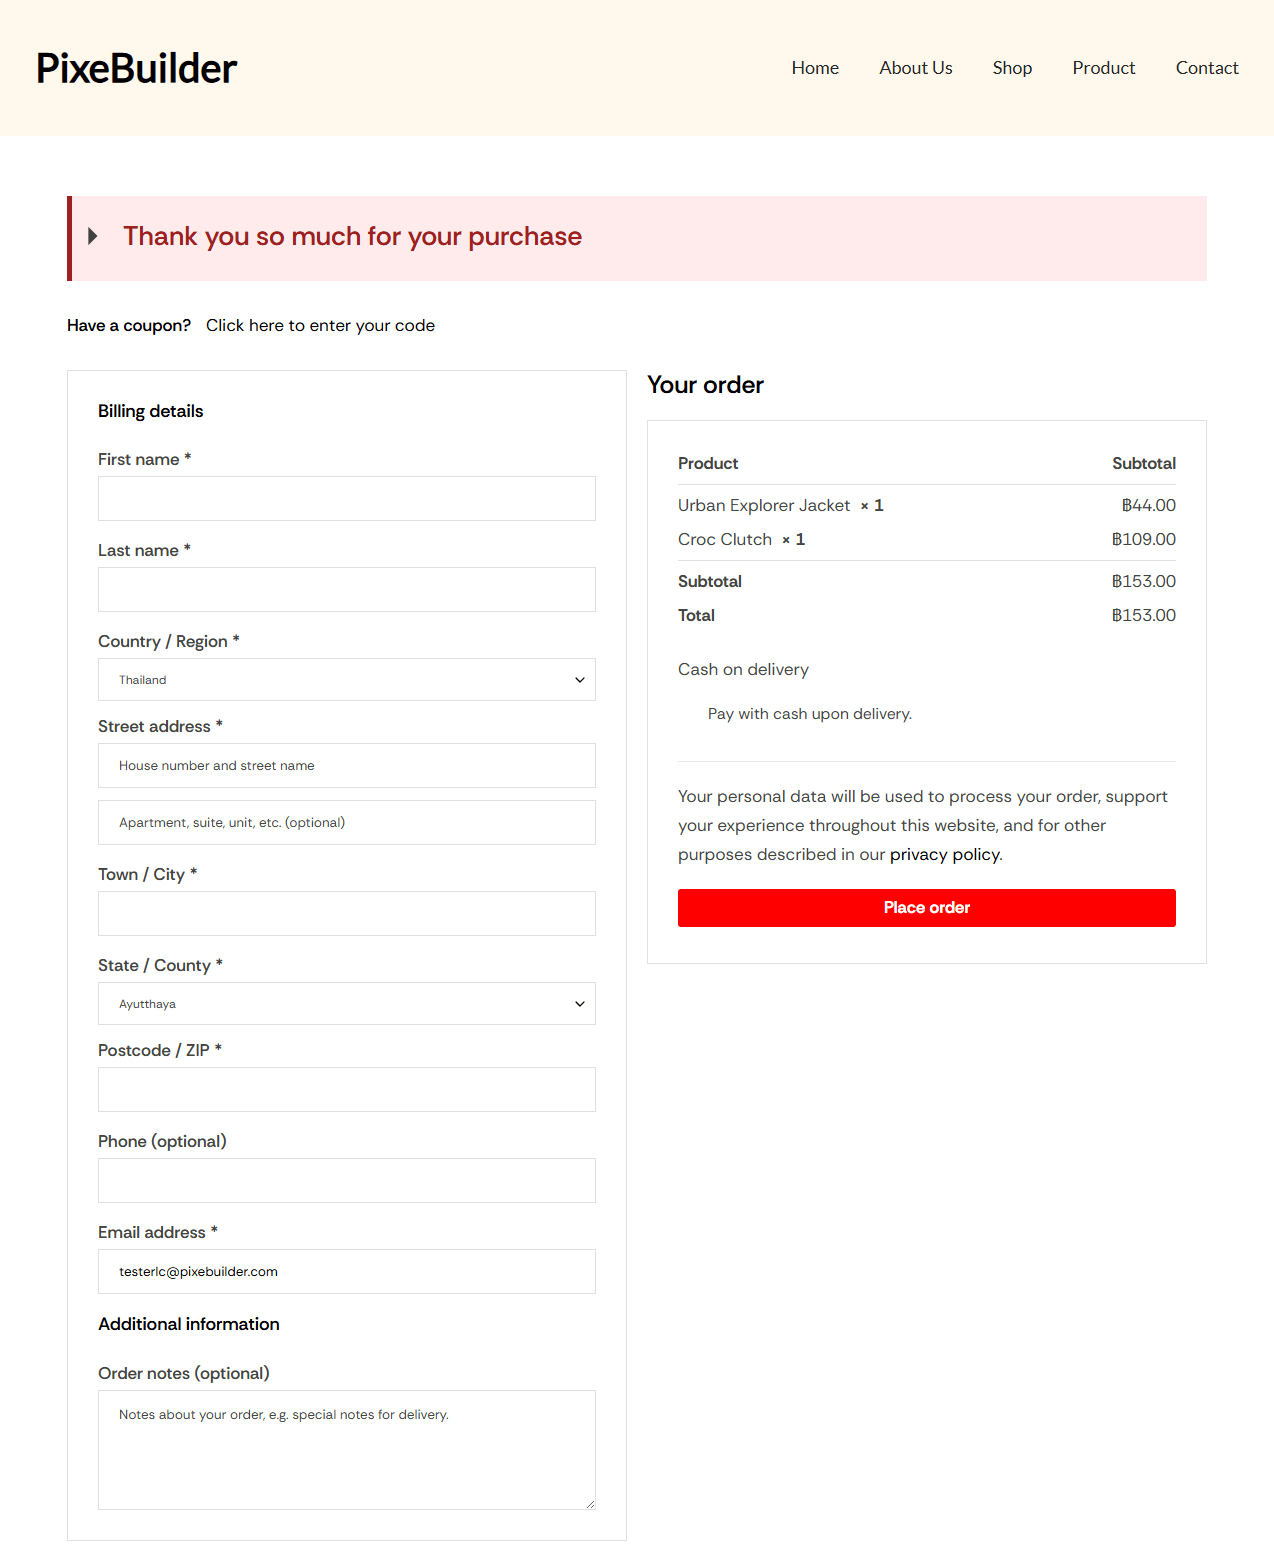
Step 5: The Result
The primary advantage of using PixeBuilder over the default WooCommerce checkout is total creative freedom. Unlike the rigid default layout, PixeBuilder allows you to use a visual drag-and-drop interface to customize every detail from multi-column layouts to branded "Thank You" message and ensuring your checkout process looks professional and matches your brand identity perfectly.