The Post Template feature in PixeBuilder is a powerful tool used to design layouts for standard blog posts as well as Custom Post Types like portfolios. These templates serve as the "item" design that is called by elements like the Post List, defining exactly how information such as the title, date, and featured image appears to visitors.
Creating a Post Template
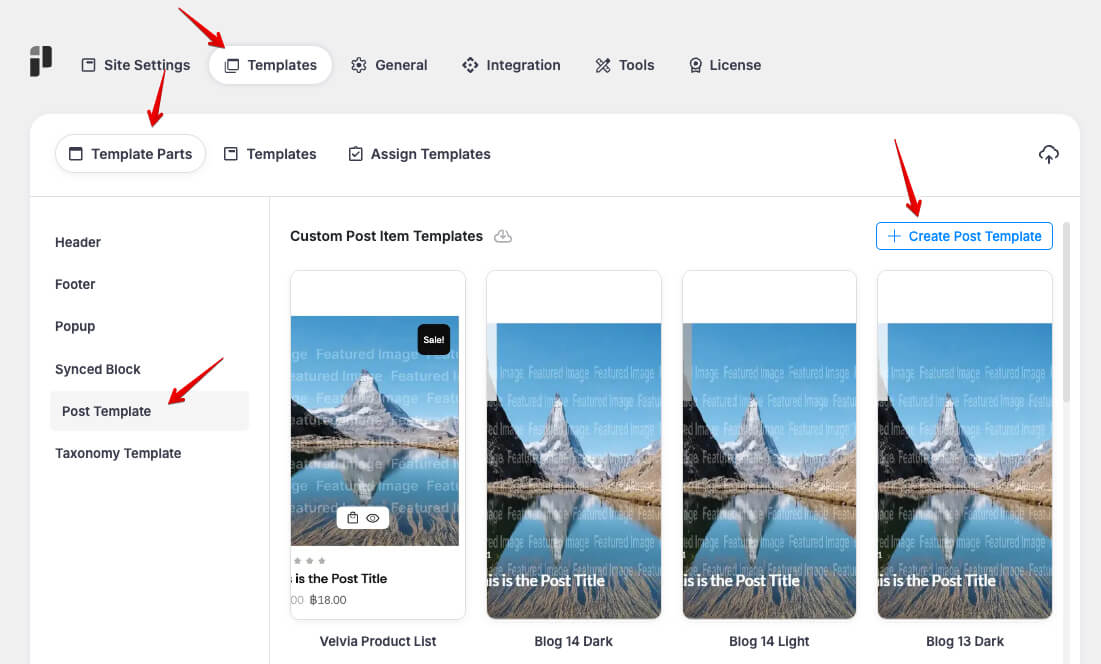
To begin designing your post item layout, navigate to the PixeBuilder dashboard:
-
Go to PixeBuilder > Templates in your WordPress sidebar.
-
Select Post Templates from the left-hand menu.
-
Click the + Create Post Template button.
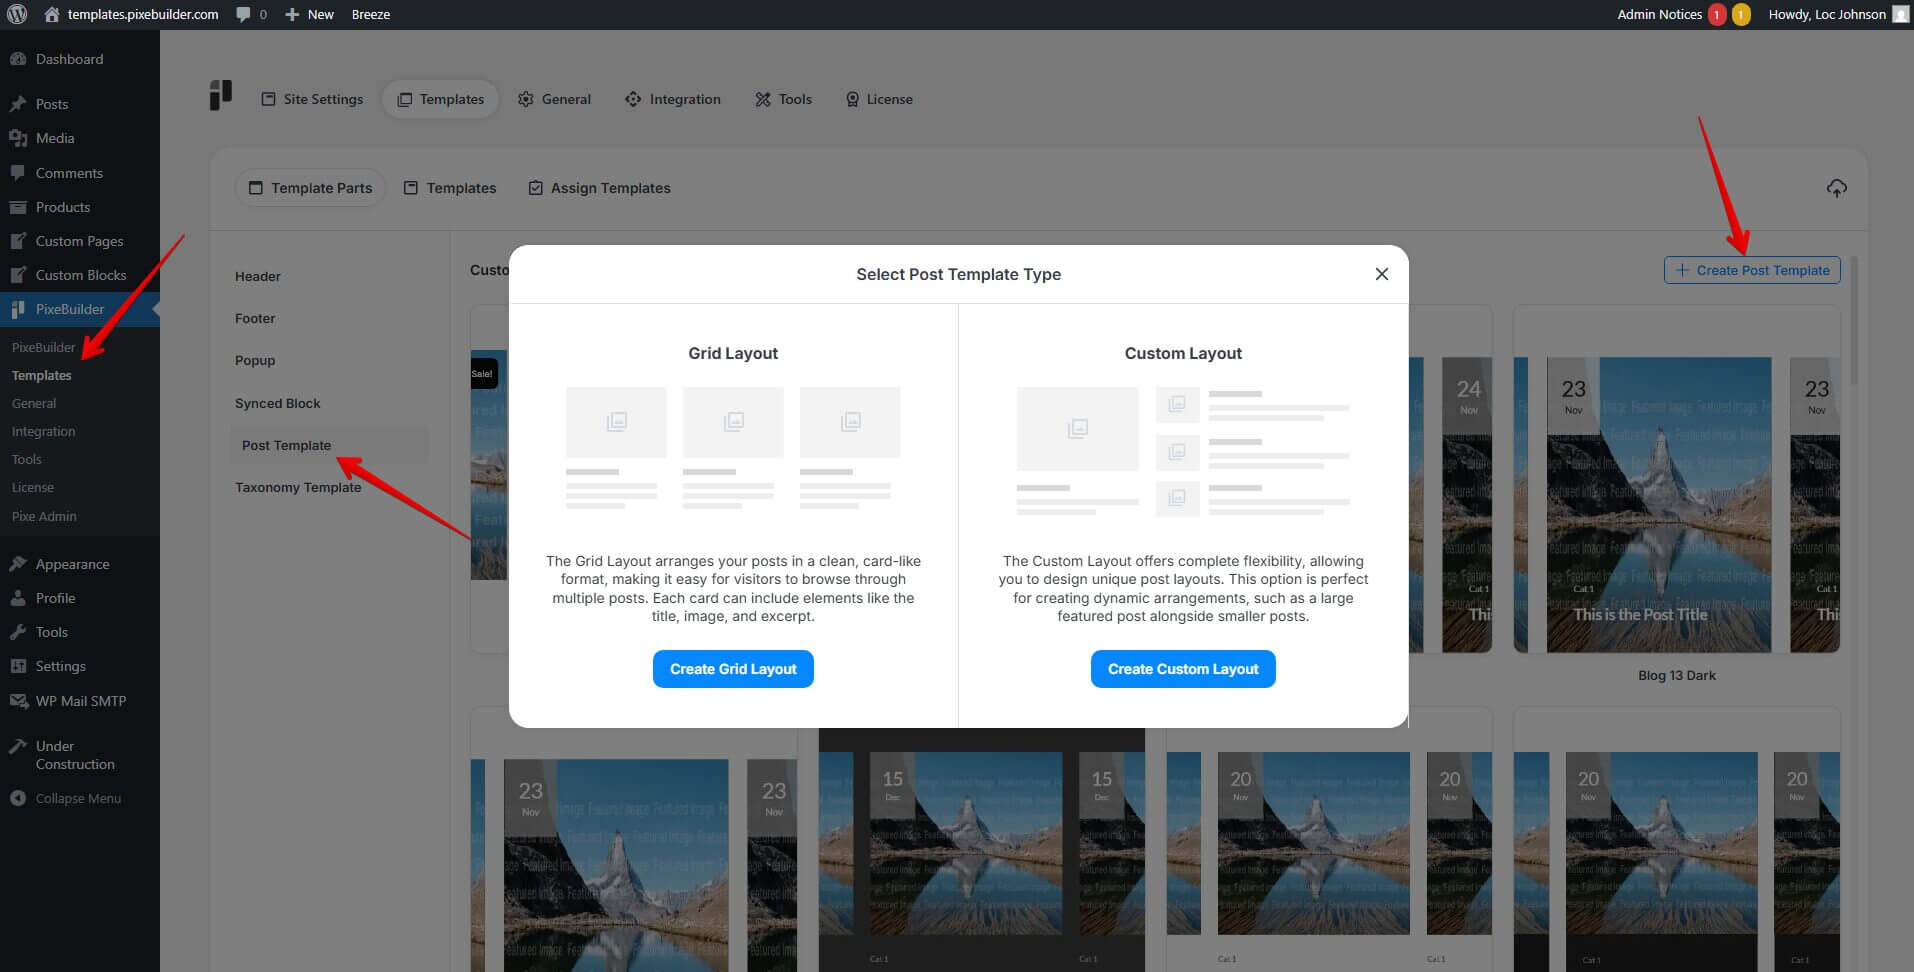
4. Select between Grid Layout (pre-structured card format) or Custom Layout (complete design freedom) Template Type.
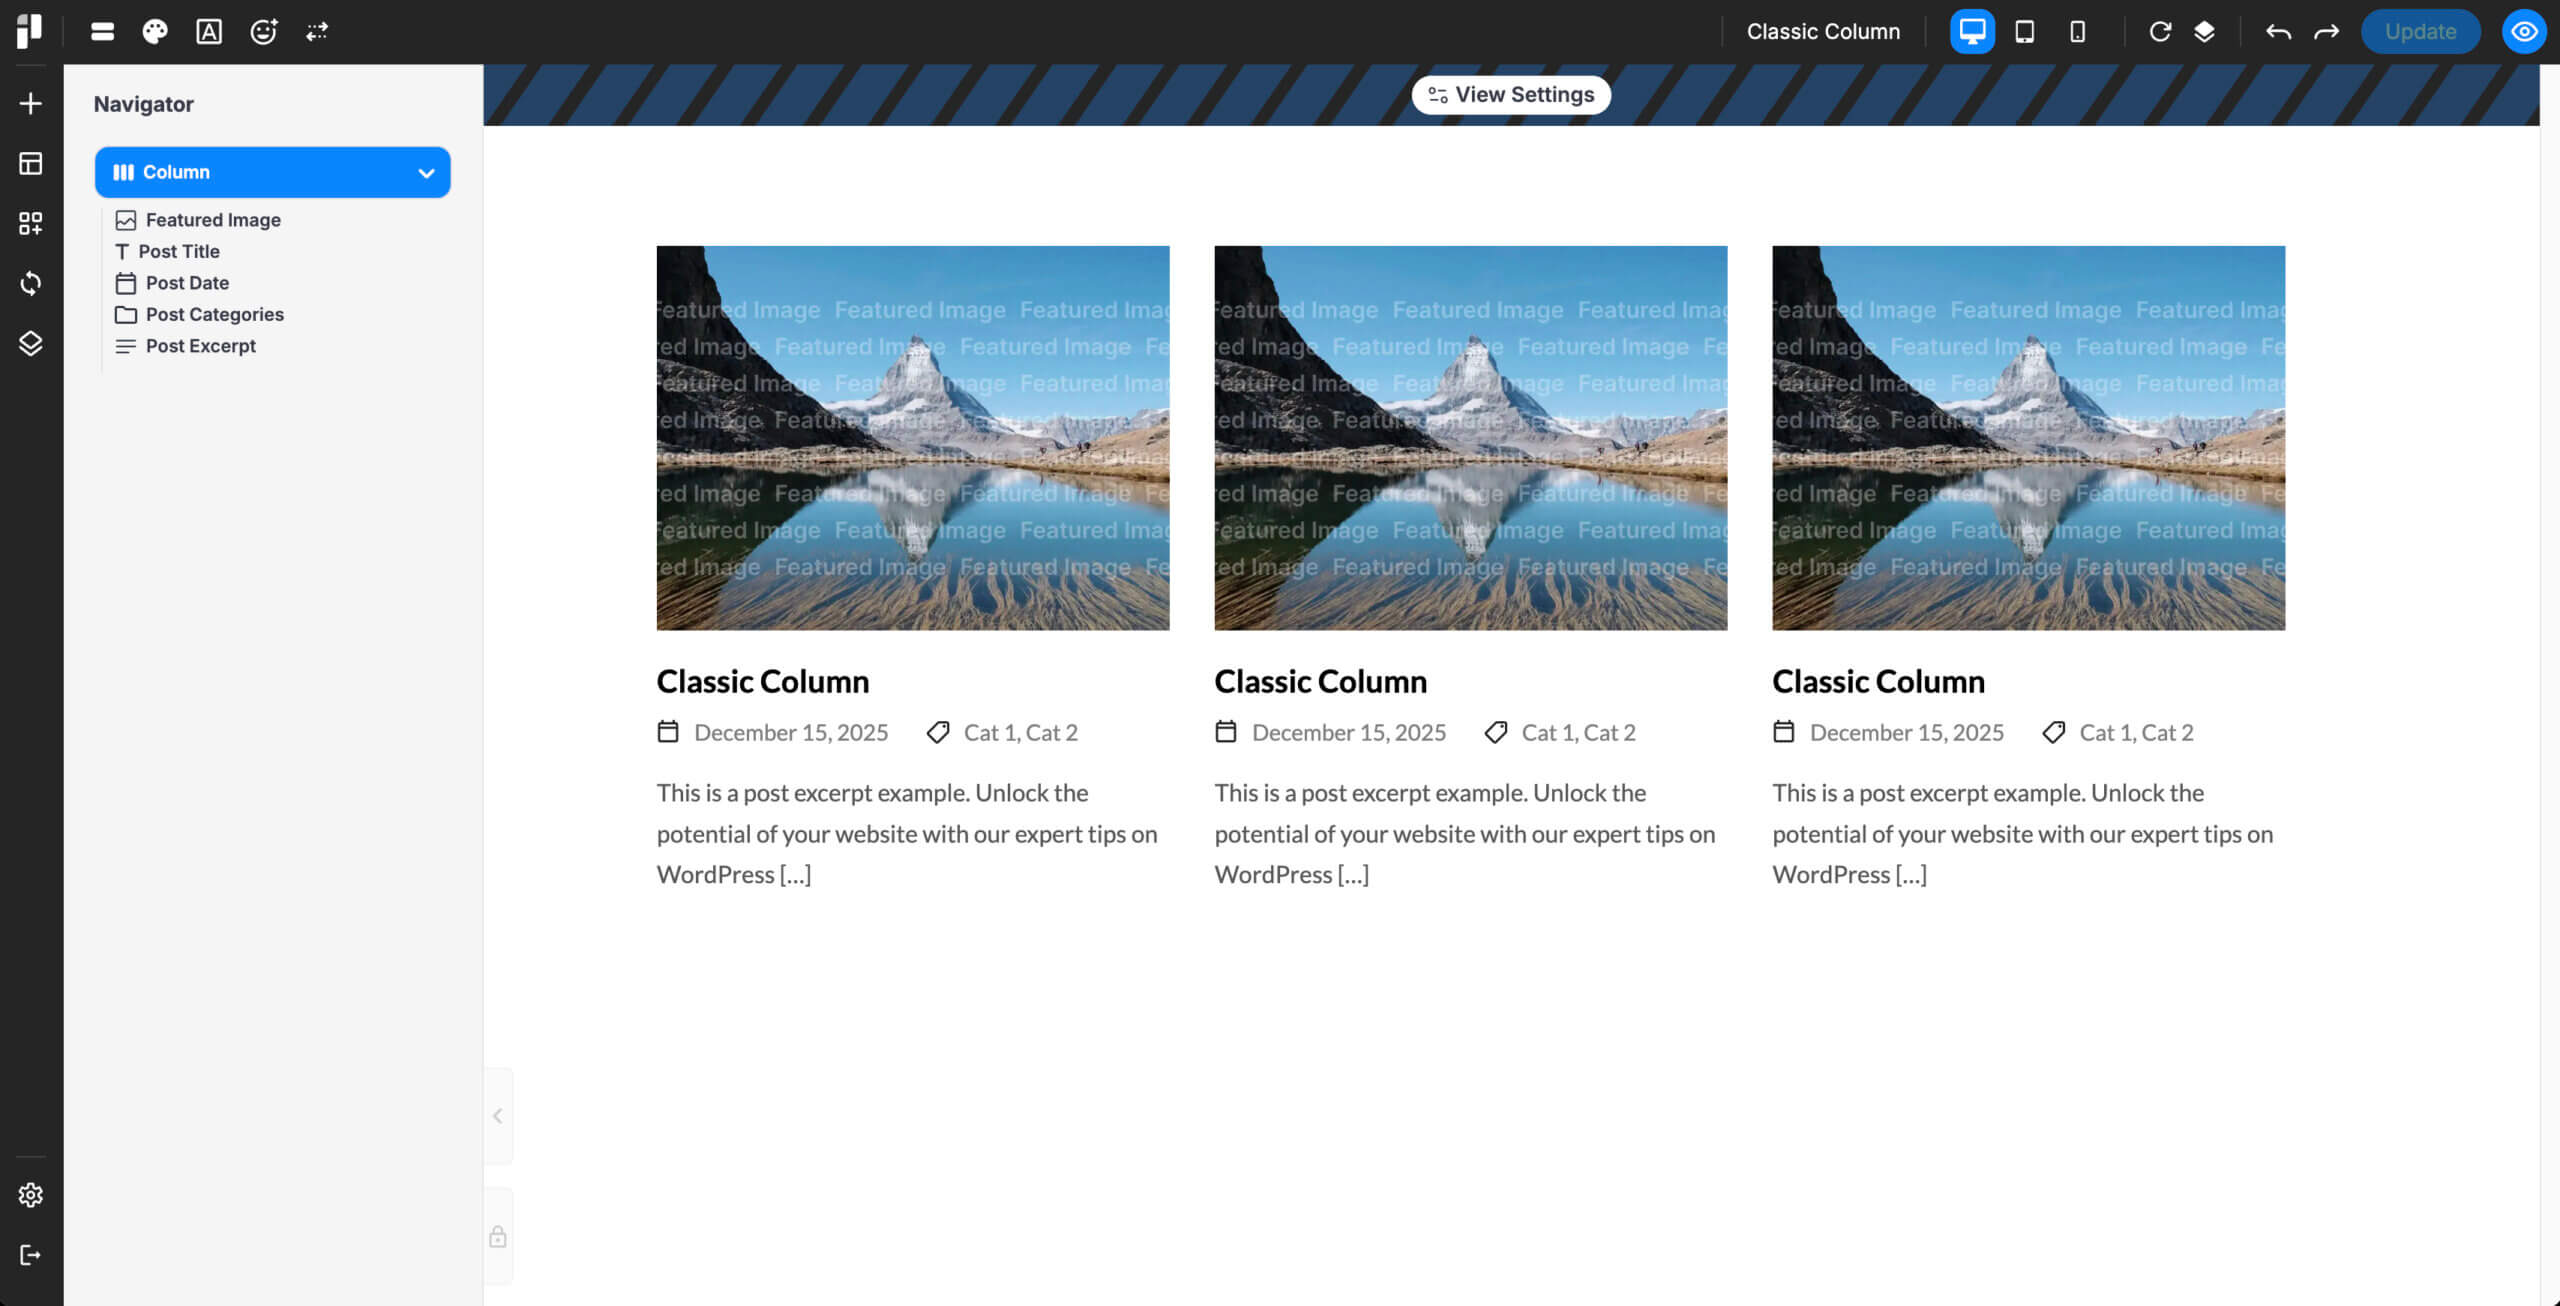
5. Design your custom post template (use Query Elements)
Selecting Template Type
1. Grid Layout

2. Custom Layout
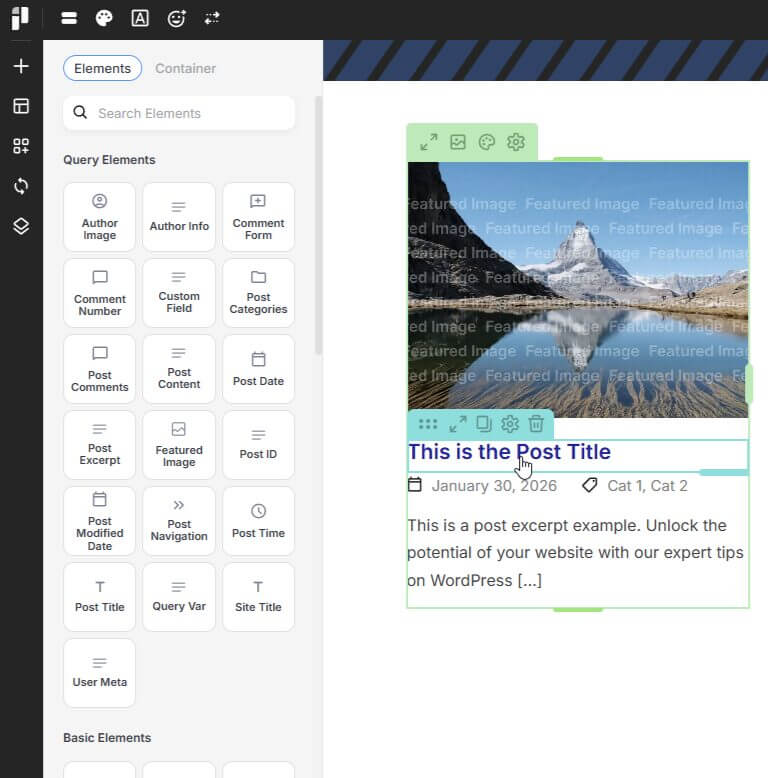
Important: When building a Custom Layout, wrap your post card structure (featured image, title, categories, etc.) inside a Query Column. This tells PixeBuilder that everything inside represents a single post, so it repeats the layout correctly for every post in the list. (Grid Layout does this automatically — no Query Column is needed there.)
In the editor, open the Container panel and click Add Query Column → Query Column, then build your post card inside it.

Building the Layout with Query Elements
Once your template is created, use specialized Query Elements to pull dynamic data from your posts. A typical template would include query elements like:
-
Post Title: Displays the name of the post or the custom post type.
-
Post Date: Shows the date the item was published.
-
Featured Image: Pulls the primary image assigned to the post.
-
Taxonomy List: Displays categories, tags, or custom taxonomies like "Portfolio Categories".
-
Post Excerpt: Shows a short summary of the post content.
-
Button (Read More):
1. Add a Button element to your card.
2. In the button settings, navigate to the Link option.
3. Set the link destination to Single Post to ensure users are taken to the full article or portfolio page upon clicking.
Using Post Templates
After saving your design, you must apply it to a post list element to see it on your site:
-
Add a Post List element to any page.
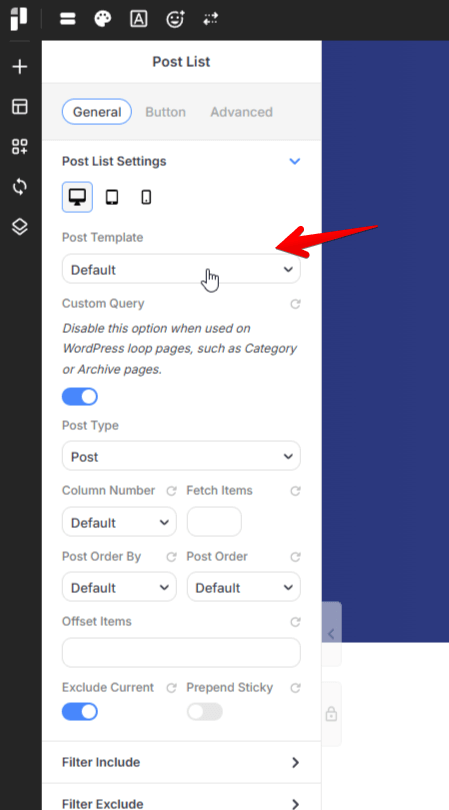
-
In the Post List Settings, locate the Post Template dropdown.
-
Select your newly designed template from the list.
-
Your list will now automatically render every post using your custom "item" layout.
Query Elements

Taxonomy Description
Displays the description text of the current taxonomy.
Taxonomy Meta
Outputs custom meta data assigned to the taxonomy.
Taxonomy Title
Displays the name/title of the current taxonomy.
Author Image
Displays the profile image (avatar) of the post author.
Author Info
Shows author-related information such as name or bio.
Comment Form
Outputs the comment submission form for the post.
Comment Number
Displays the total number of comments on the post.
Custom Field
Outputs the value of a selected custom field.
Post Categories
Displays the categories assigned to the post.
Post Comments
Displays the list of comments for the post.
Post Content
Outputs the main content/body of the post.
Post Date
Displays the publish date of the post.
Post Excerpt
Displays the excerpt or short summary of the post.
Featured Image
Displays the featured image of the post.
Post ID
Outputs the unique ID of the post.
Post Navigation
Displays navigation links to previous and next posts.
Post Time
Displays the publish time of the post.
Post Title
Displays the title of the post.