Setup WooCommerce Pages
You can setup those pages under the settings: WooCommerce > Settings > Advanced.
Reference: https://woocommerce.com/document/woocommerce-pages/
Notes: You must assign the My Account, Checkout, and Cart pages in the WooCommerce settings first in order for the Account, Checkout, and Cart items to function properly.
WooCommerce Elements
The WooCommerce in PixeBuilder will contain several parts.
WooCommerce Items: https://docs.pixebuilder.com/woocommerce-items/
WooCommerce Templates
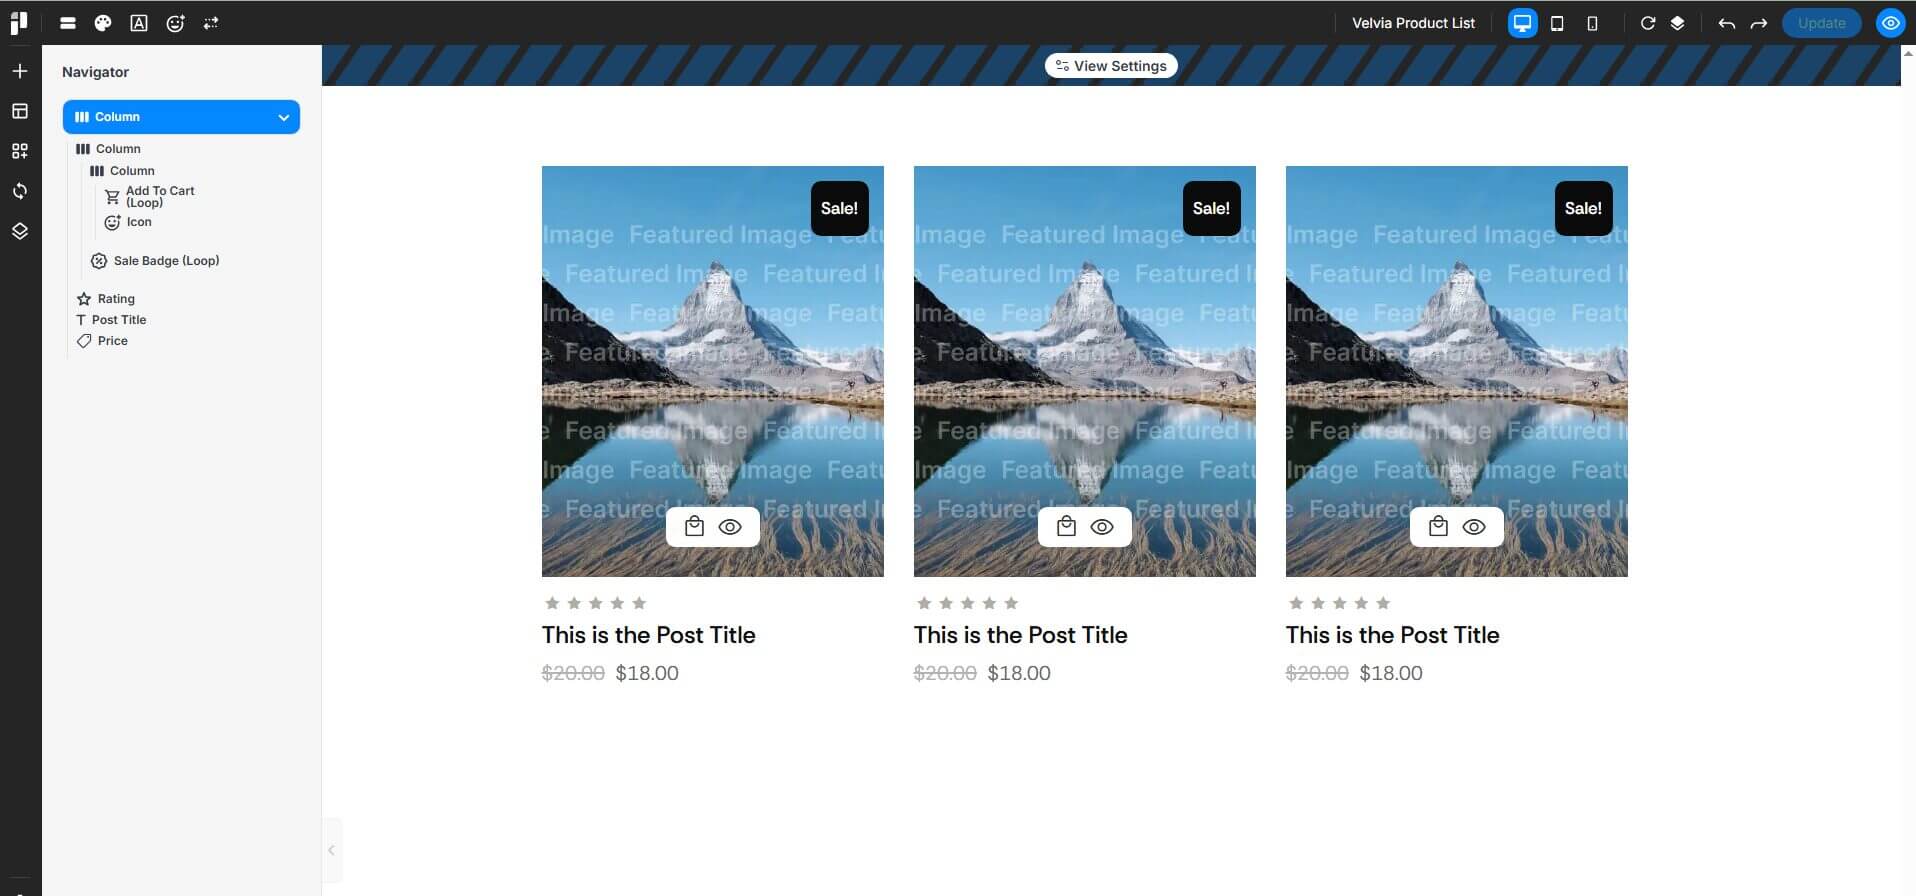
1. WooCommerce Product List
- How to create Post Template: https://docs.pixebuilder.com/post-template-setup/.
- The Product List backend (Grid Layout) will look like below:
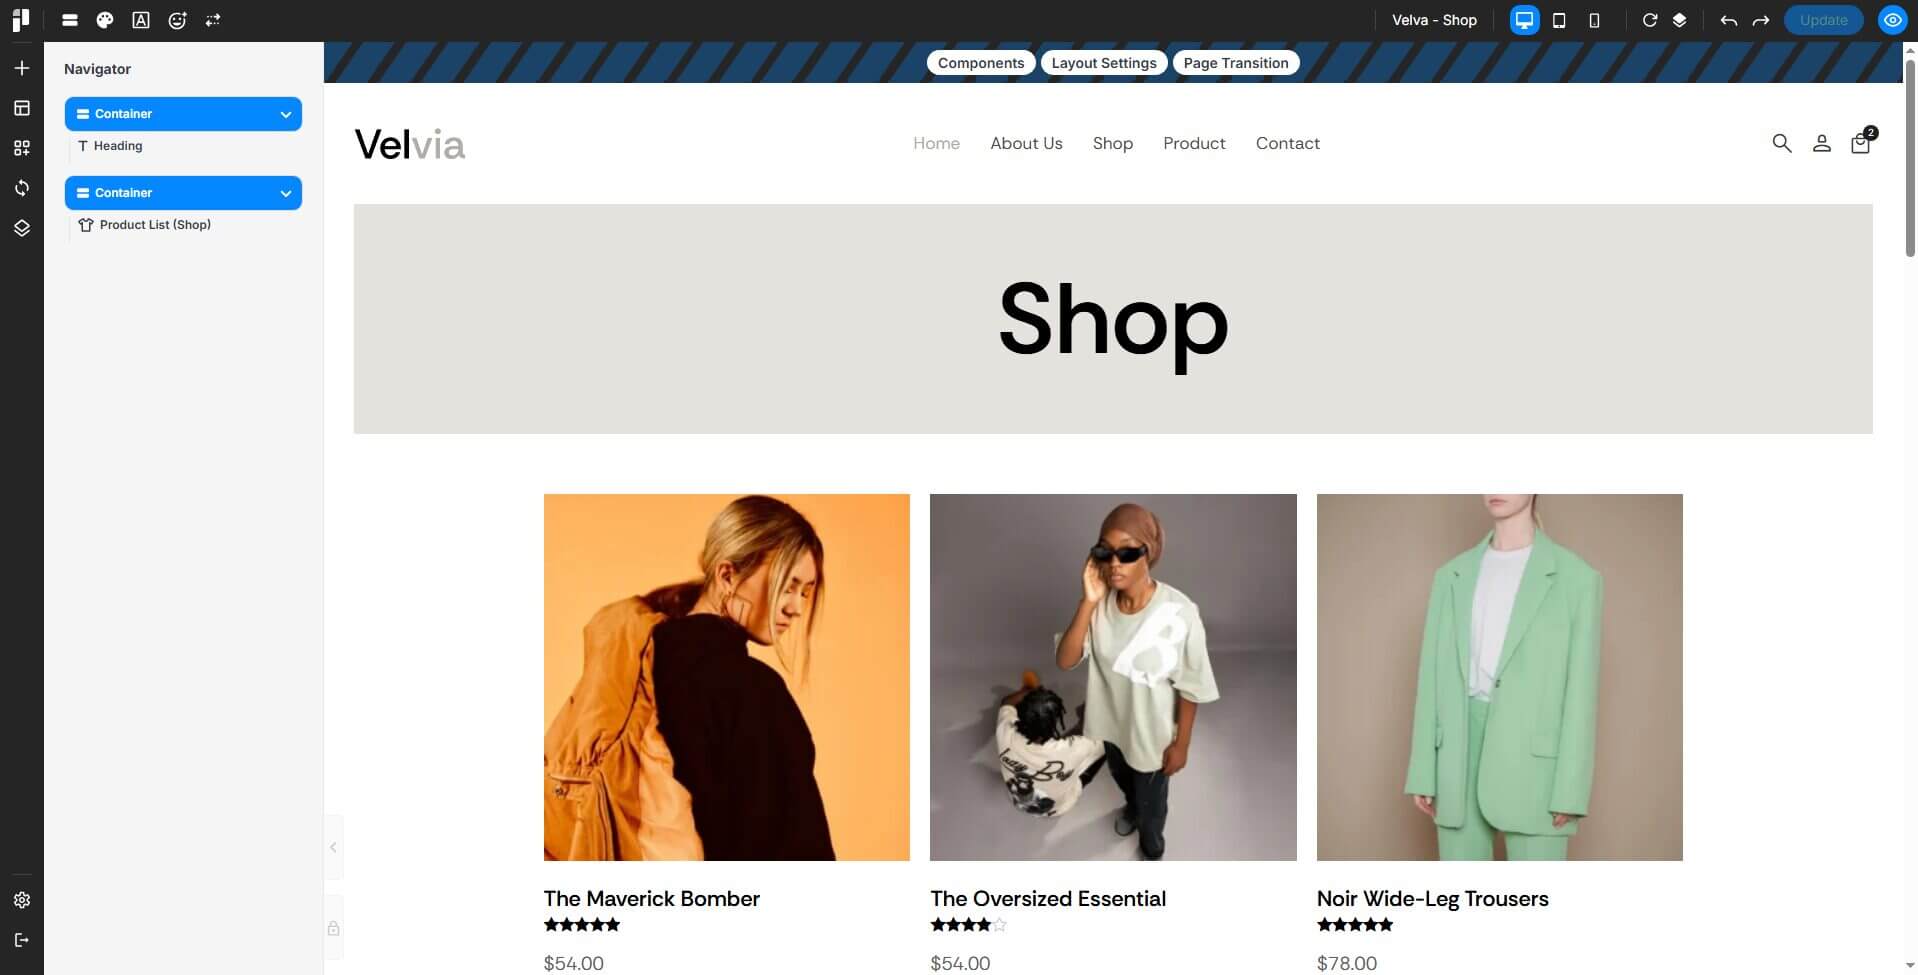
2. WooCommerce Product Pages (Shop/Archive Pages)
- How to create Page Template: https://docs.pixebuilder.com/page-template-setup/
- The shop pages template backend will look like the examples below.
- The shop category pages template backend will look like the examples below.
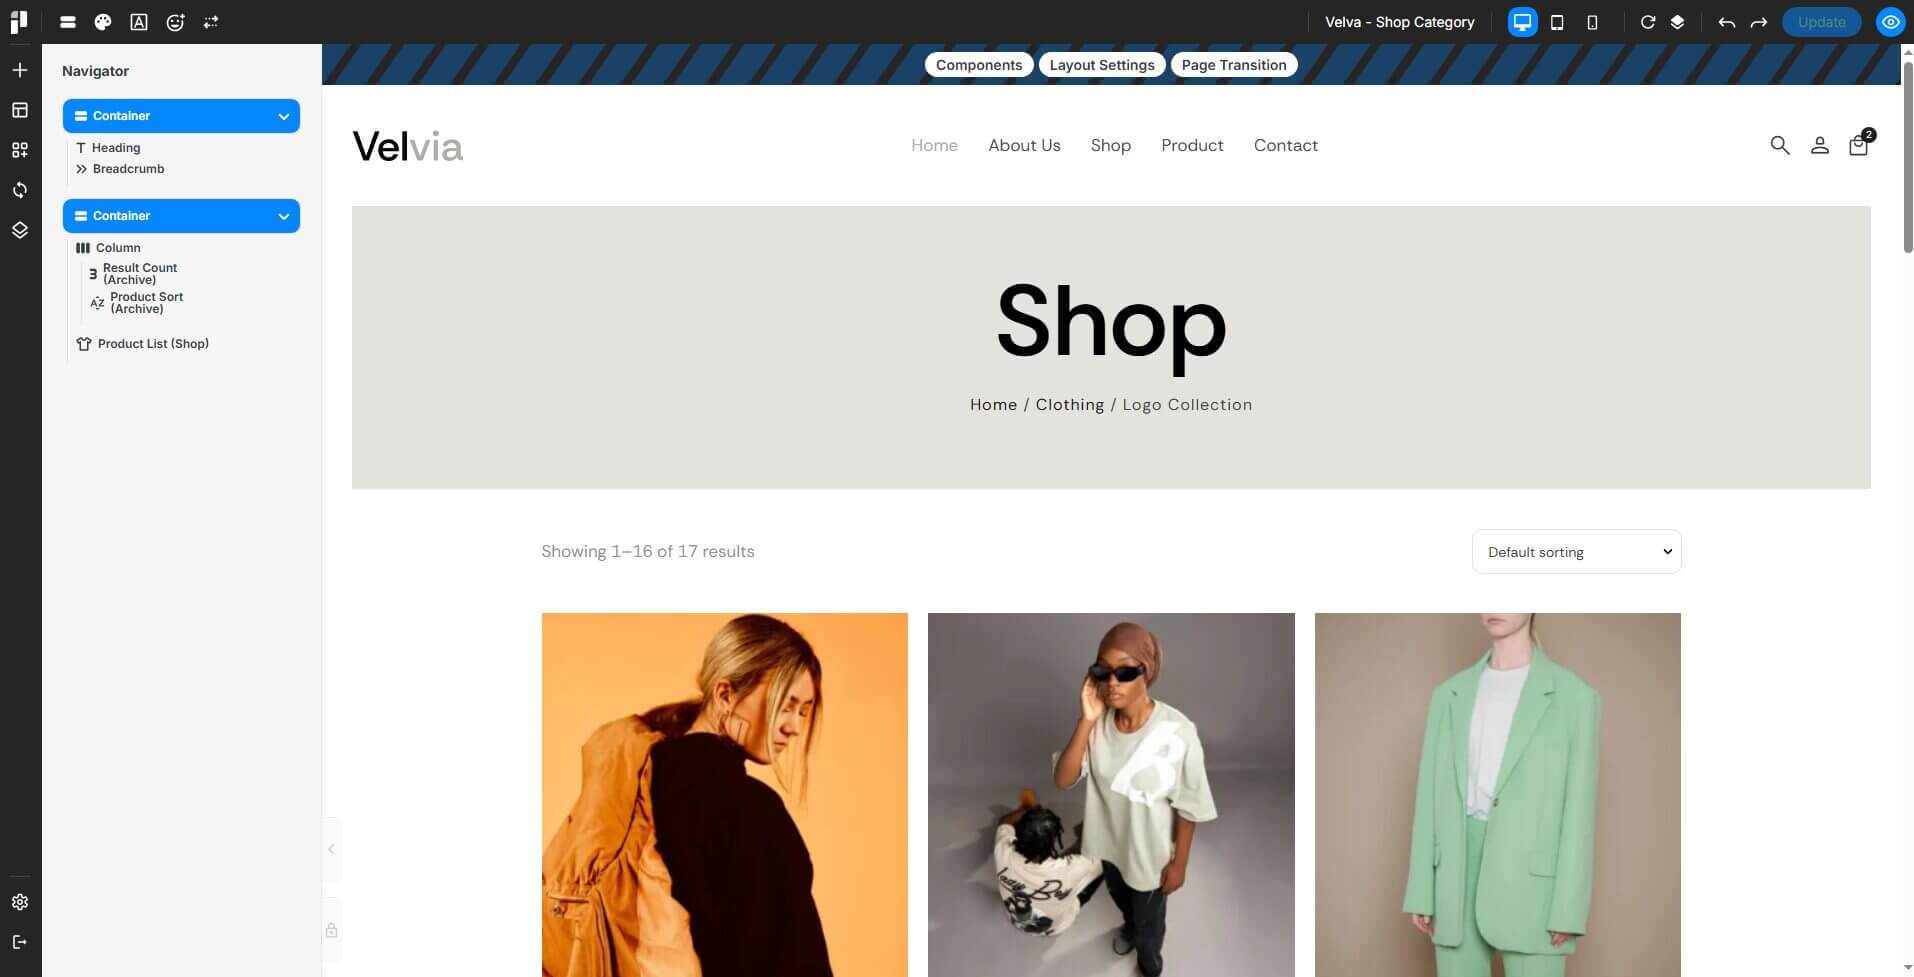
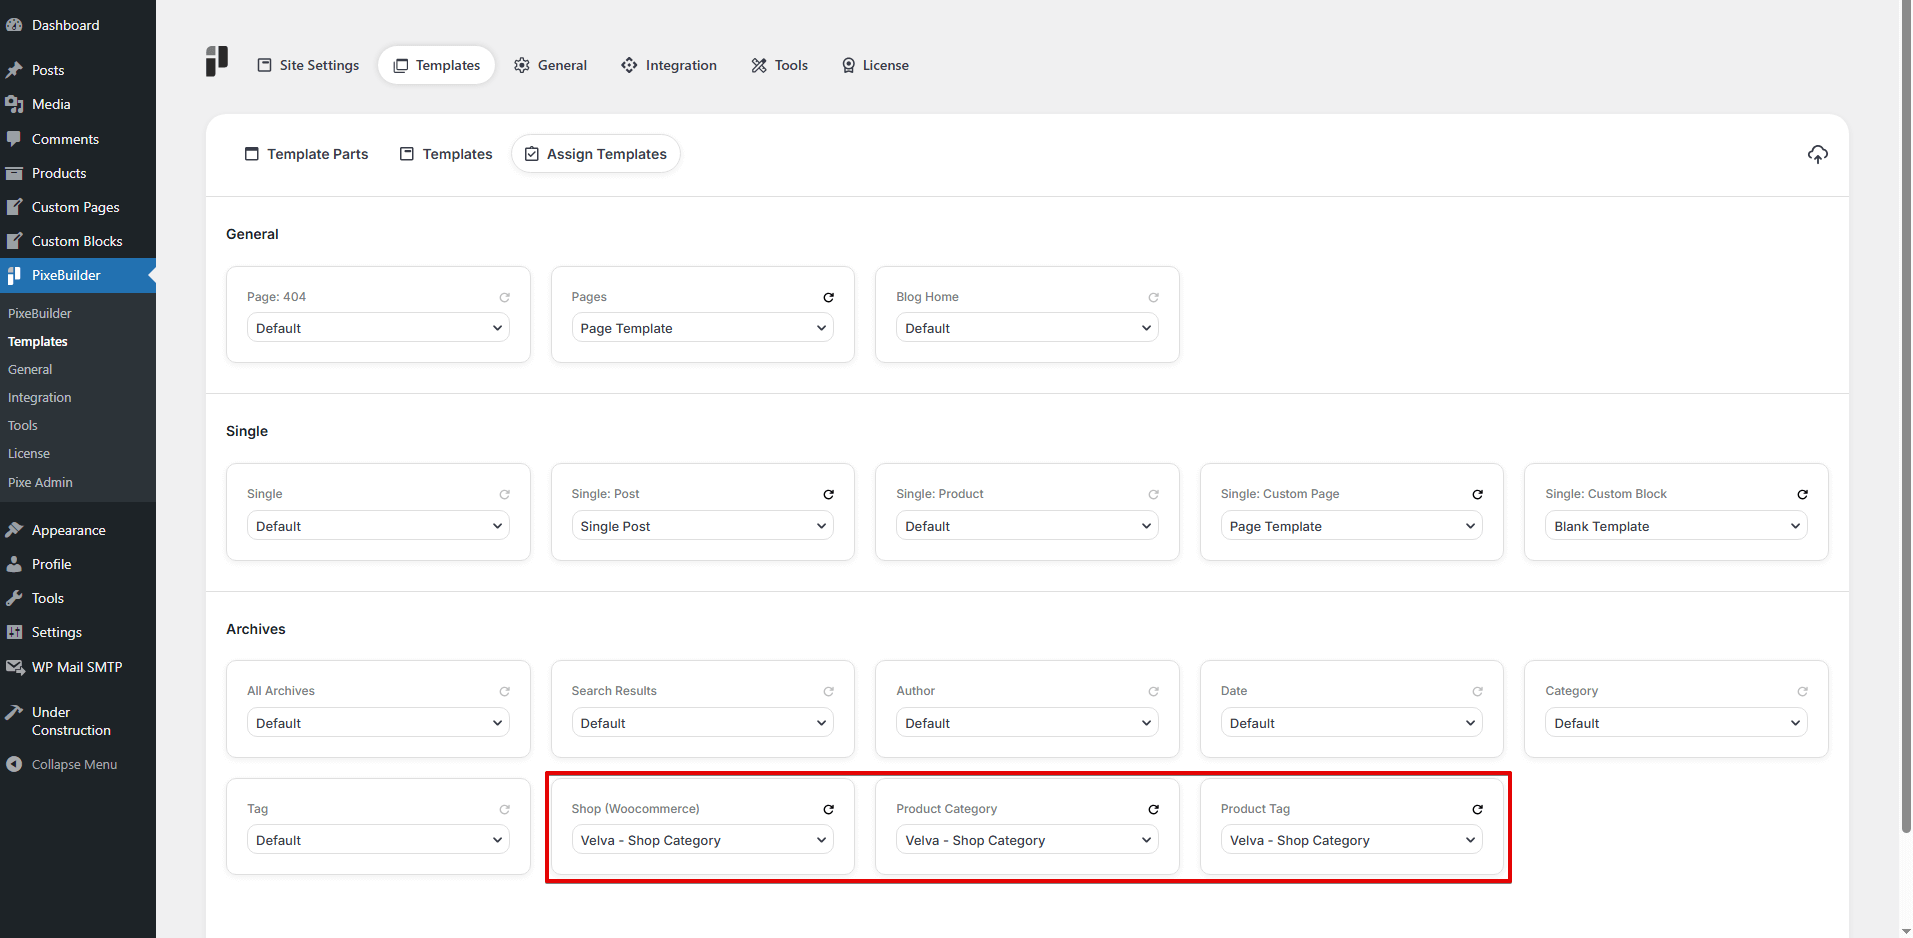
- Assign Templates for Shop/ Product Category and Product Tag:
Example Page: https://templates.pixebuilder.com/shop/
3. WooCommerce Home Pages
- How to create Page Template: https://docs.pixebuilder.com/page-template-setup/
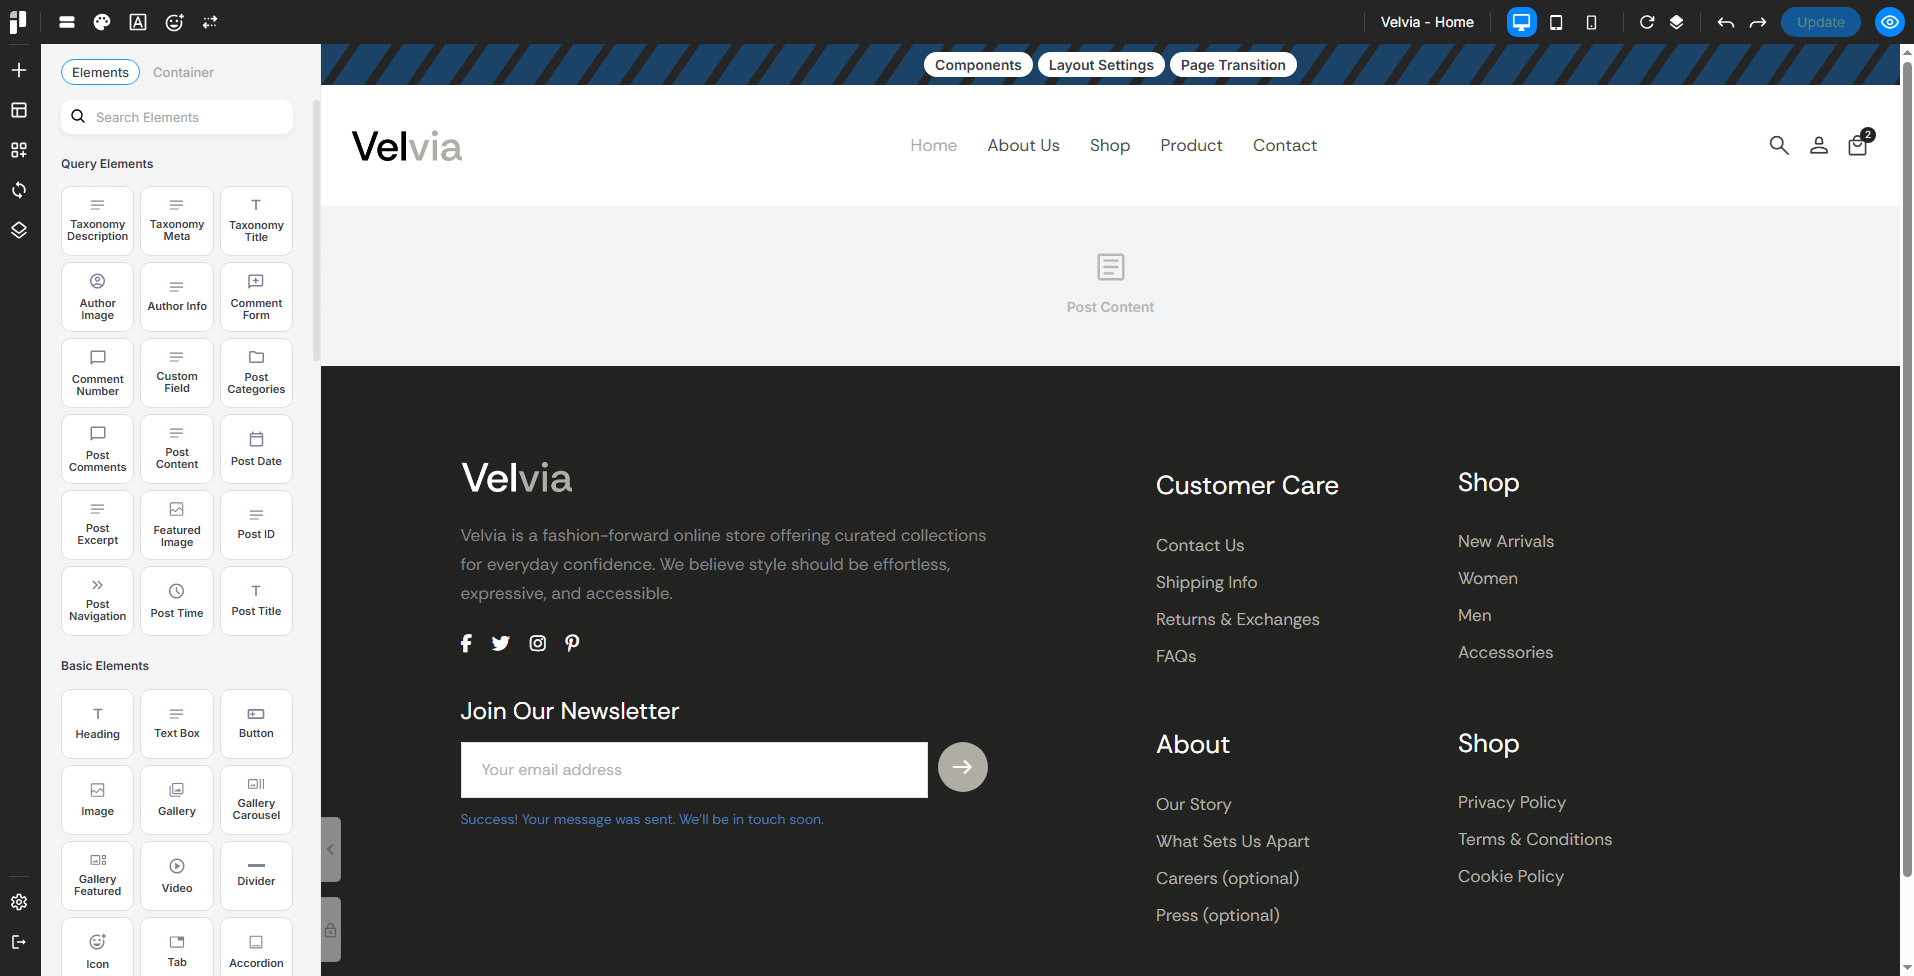
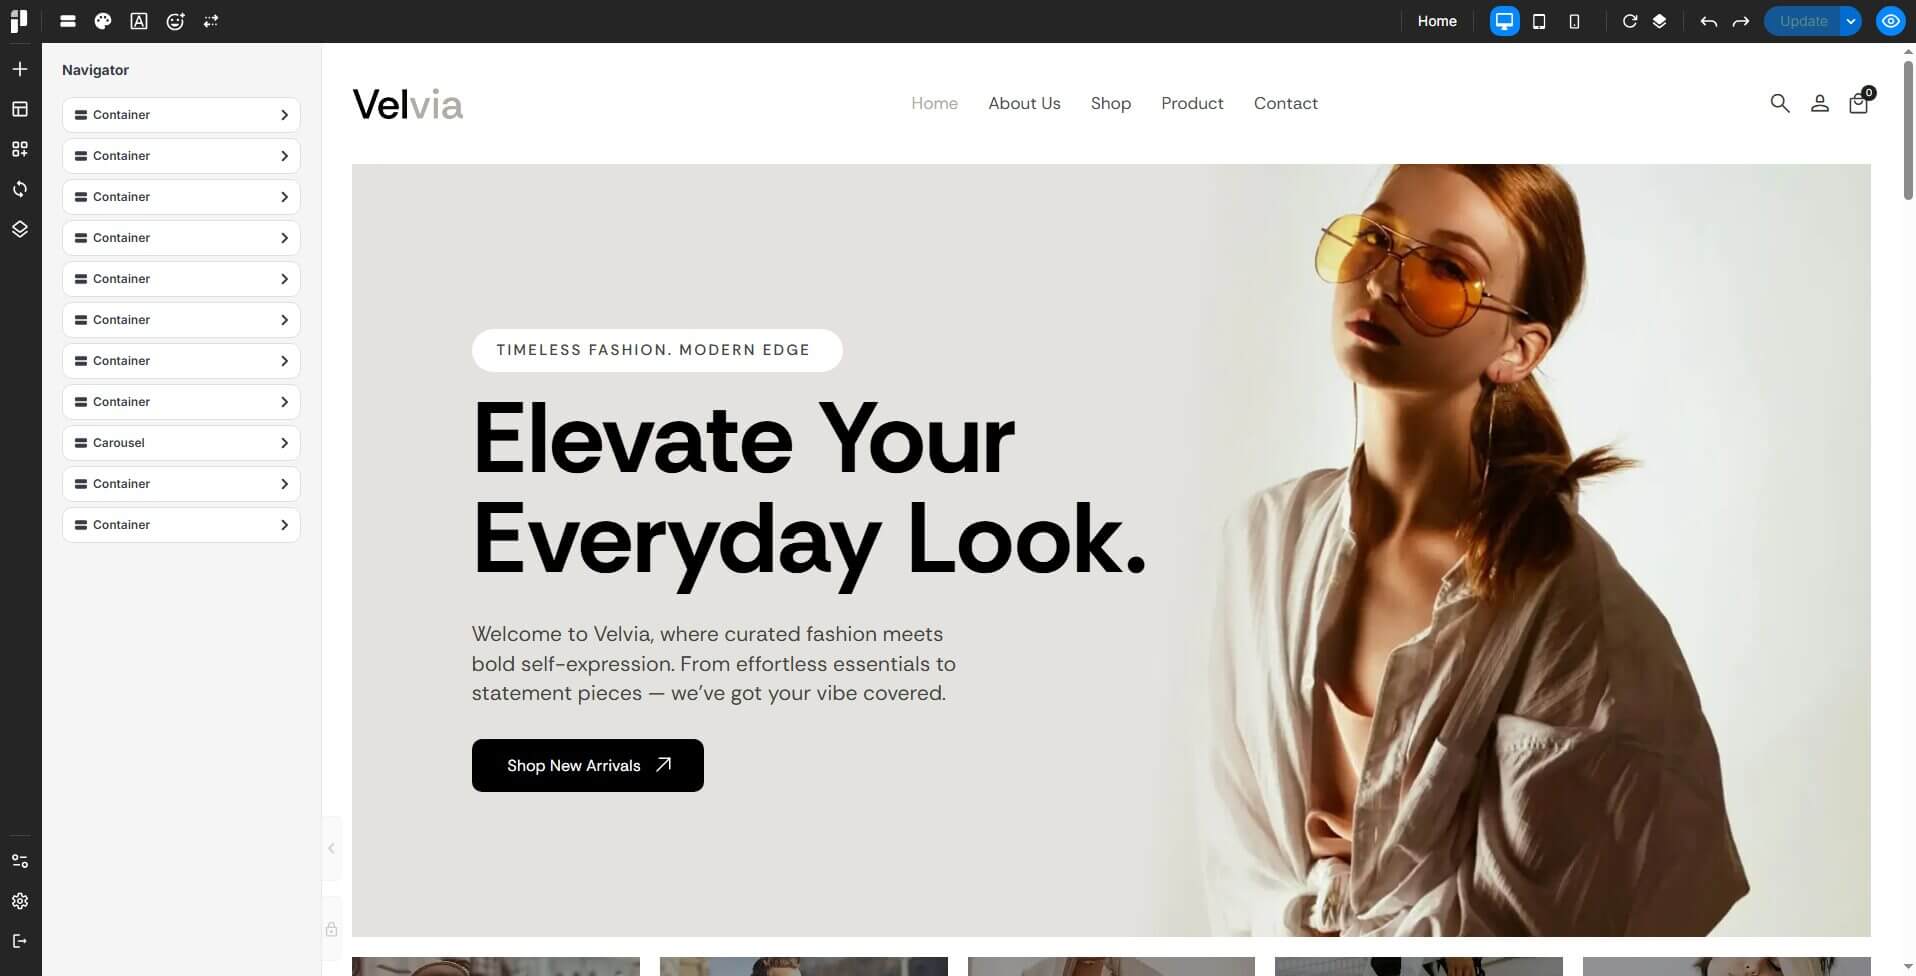
- The home pages template backend will look like the examples below.
- Create a custom pages: https://docs.pixebuilder.com/custom-pages/
- The custom page (home pages) backend will look like the examples below:
- We will need using the Post List element to apply custom layout for product list in custom pages.
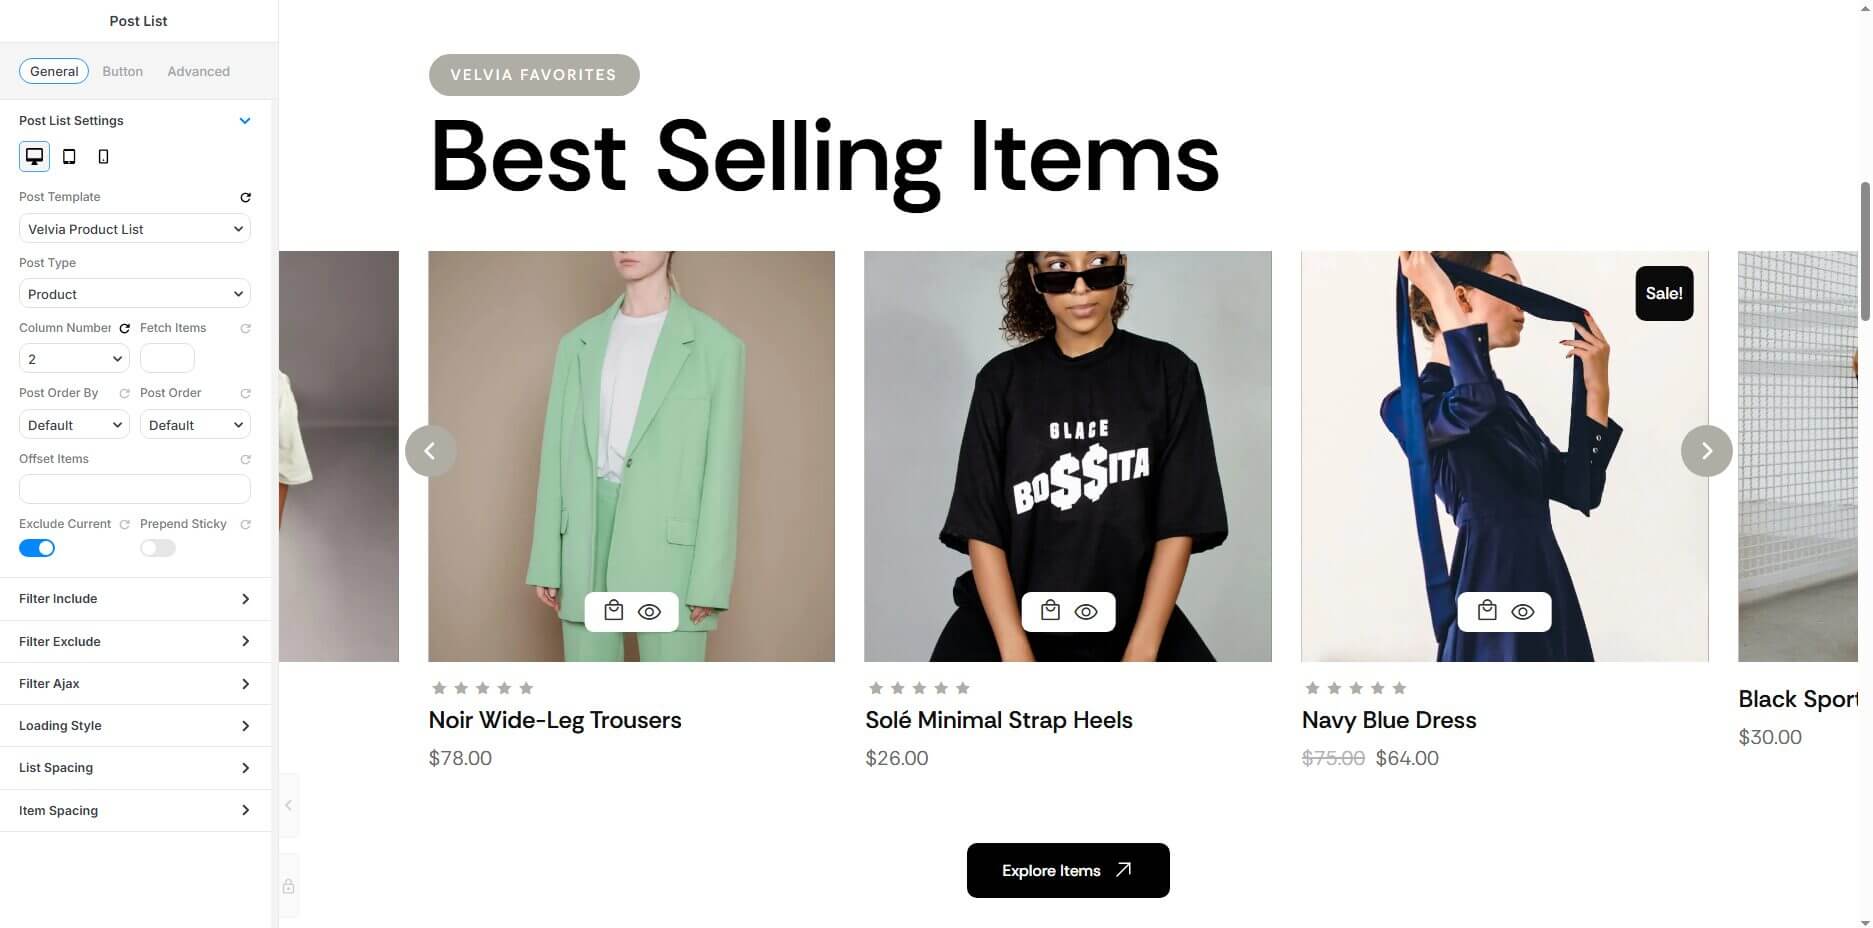
- Please make sure you're focus in Post Template and Post Type, for other options in the Post List element, please check it below:
Use this to include specific posts or products in your list.
You can filter by:
-
Brands
-
Product Type
-
Product Visibility
-
Product Categories
-
Product Tags
-
Product Shipping Classes
- Use this to hide specific posts or products from your list.
- You can exclude the same options as above (brands, categories, etc.).
- Enable dynamic filtering without reloading the page.
- When turned on, this setting ignores Include and Exclude filters.
Options:
-
Enable Ajax Filter: Toggle on/off Ajax filtering.
-
Select Taxonomy: Choose what type of content to filter (e.g., Product Type, Category).
-
Select Category: Pick which terms to load dynamically.
- Choose how new posts load in the list.
- Options may include:
- Pagination – Load posts by pages.
- Load More Button – Add a button to reveal more posts.
- Infinite Scroll – Load automatically as the user scrolls.
Adjust the space between each post or product in the list.
Control the inner spacing (padding) of product section.
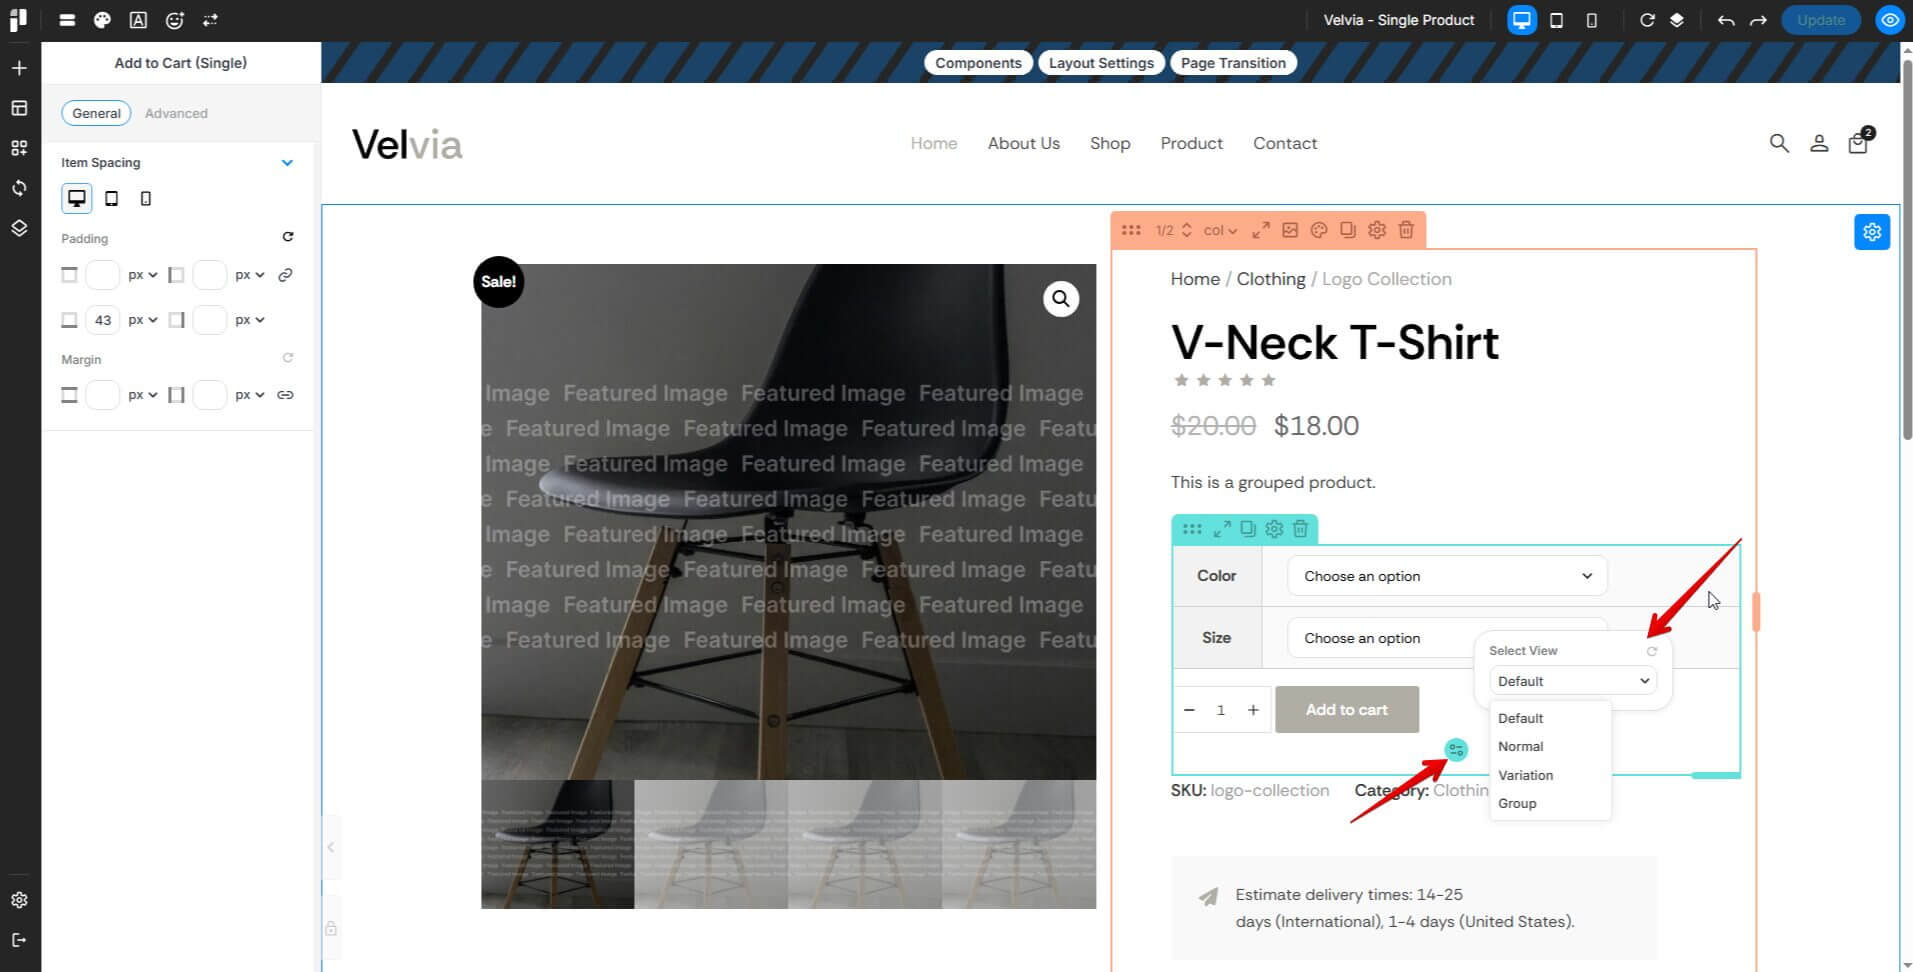
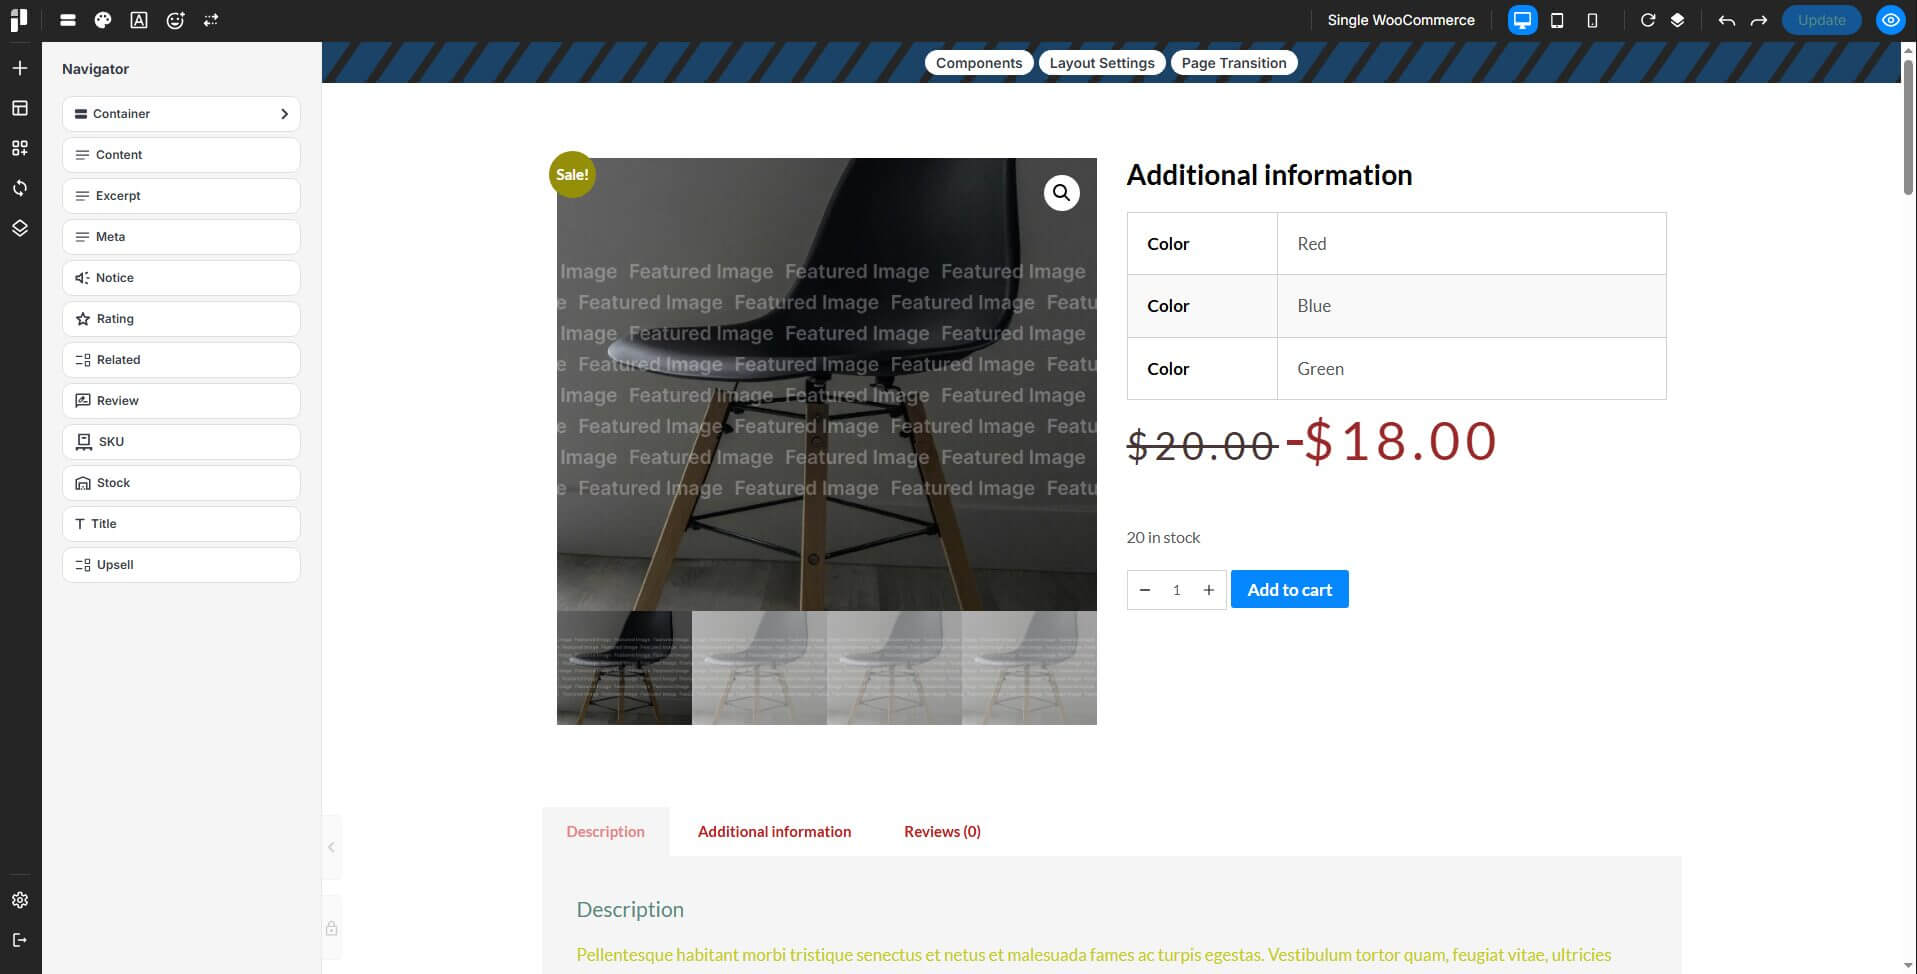
4. WooCommerce Single Product
- How to create Page Template: https://docs.pixebuilder.com/page-template-setup/
- The Single Product template backend will look like the examples below.
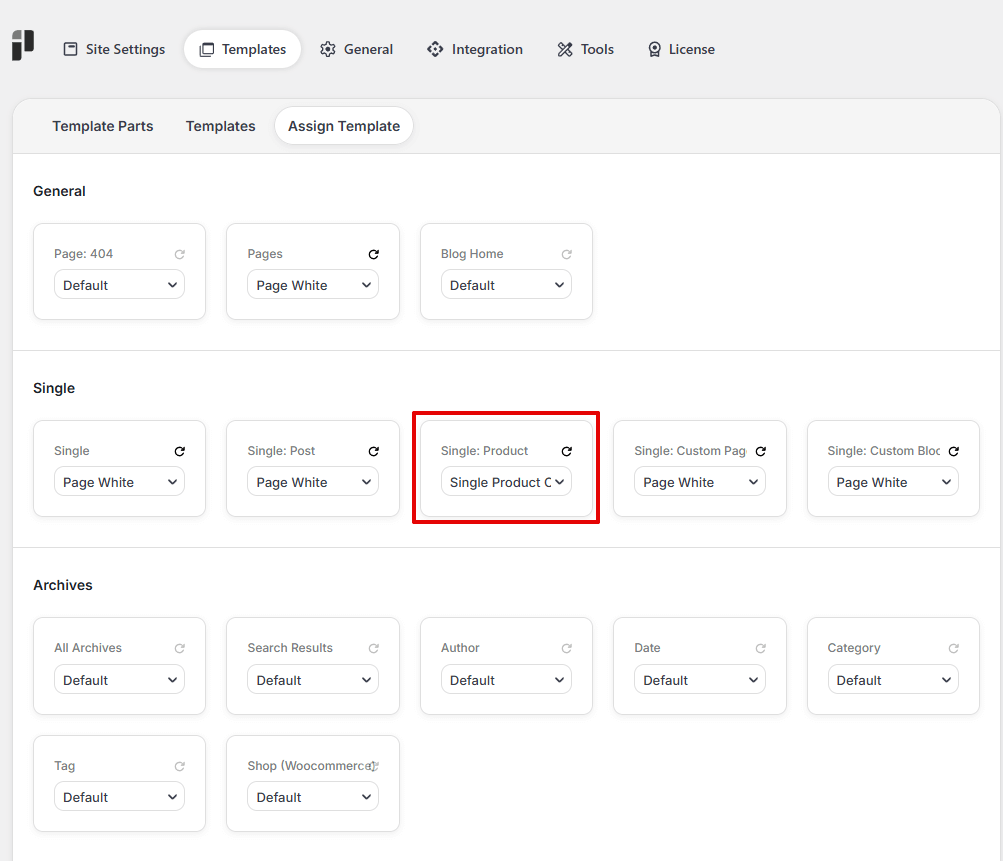
- After complete the Single Product template
- We will apply the Single Product template in: PixeBuilder > Templates > Assign Template > Single > Single: Product
WooCommerce View Settings
Some WooCommerce elements include View settings that let you preview and style the element under different product scenarios.
By switching between views (such as Default, Normal, Variation, or Group), you can adjust the design to ensure it displays correctly for each product type/ layout.